Basic Shapes for Drawing: A Beginner’s Guide
Drawing gets easier when you stop thinking about details first. Every object around you starts with a simple shape. A face begins as a circle. A house starts as a square and triangle. Even complex characters use cubes, cylinders, and spheres underneath. That is why artists learn basic shapes before anything else.
This guide will show you how to:
- Draw the most important shapes
- Turn flat shapes into 3D forms
- Practice with real exercises
- Build objects and characters from simple forms
- Improve faster with a structured method beginners often miss
You do not need talent to start. You need a pencil, paper, and the right process.
Why Basic Shapes Matter in Drawing
Shapes act like the skeleton of a drawing. Without them, drawings look uneven, flat, or confusing. When you understand shapes, you can simplify almost anything you see.
A coffee mug becomes:
- A cylinder for the cup
- A curved oval for the top
- A stretched “C” shape for the handle
A human head becomes:
- A sphere for the skull
- A box for the jaw
- Lines for eye and nose placement
This approach helps you:
- Draw faster
- Fix mistakes early
- Understand proportions
- Improve perspective
- Create more accurate sketches
Professional artists rarely start with details. They build structure first.
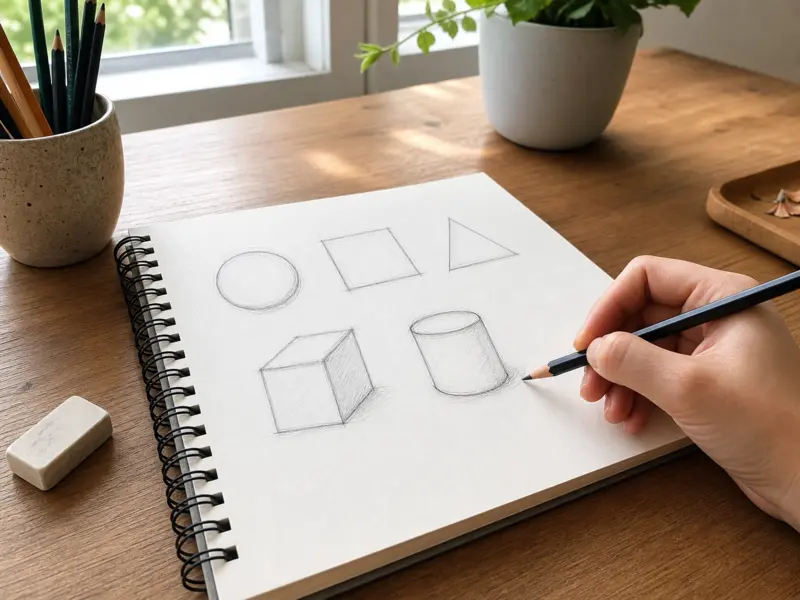
Start With 2D Shapes First
Most beginners jump straight into detailed drawings. That creates frustration fast. Start with flat shapes first.
Focus on:
- Circles
- Squares
- Rectangles
- Triangles
- Ovals
These shapes train your hand control and eye accuracy. You can also practice guided exercises on Drawspace for structured learning.
How to Practice Circles Properly
Many beginners draw circles slowly. That creates shaky lines. Use this method instead:
Step 1: Ghost the Motion
Move your pencil above the paper without touching it. Repeat the circular motion several times. This trains your arm before the actual line.
Step 2: Draw From the Shoulder
Do not use only your wrist. Move your entire arm for smoother circles. Large movements create cleaner curves.
Step 3: Draw Quickly
Fast strokes look smoother than slow strokes. Do not aim for perfection. Draw 20 circles in one page. Then compare them.
Step 4: Correct With Overlapping Lines
Professional sketches often contain multiple loose lines. That is normal. Refine the shape gradually instead of forcing one perfect line.

Square and Rectangle Exercise
Squares teach proportion control. Draw one square. Then divide it into four equal sections. Now repeat the exercise without using a ruler.
This improves:
- Line confidence
- Symmetry
- Spatial awareness
Next, stretch squares into rectangles. Practice tall rectangles, wide rectangles, and tilted rectangles. This helps later with buildings, books, phones, and body structures.
Triangle Training for Better Structure
Triangles help with angles and composition.
Try this exercise:
- Draw one large triangle
- Divide it into smaller triangles
- Rotate different versions
- Connect triangles into simple objects
You can create:
- Mountains
- Roofs
- Trees
- Dynamic poses
Triangles add energy to drawings because they create directional movement.
Turn Flat Shapes Into 3D Forms
Once you understand flat shapes, move into forms. A shape is flat. A form has volume. This is the stage where drawings start looking real.
Learn the Four Essential Forms
You only need four main forms to draw most objects.
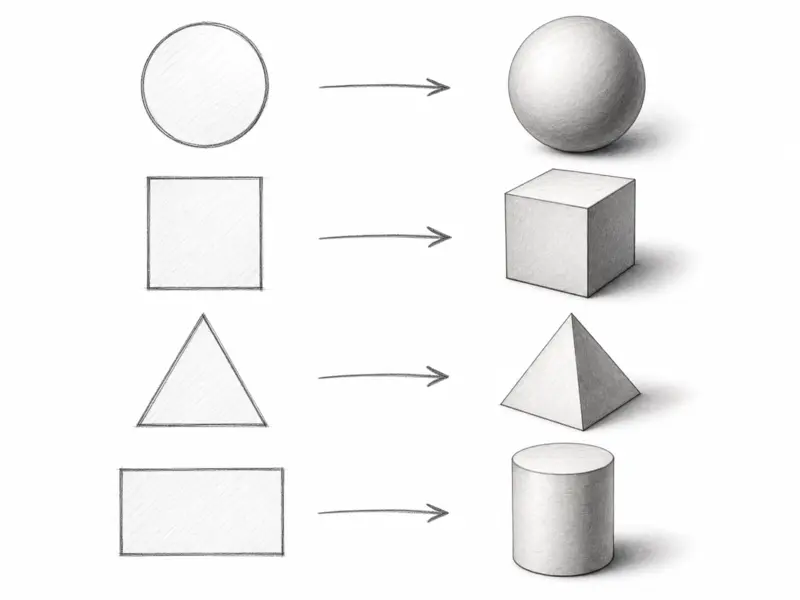
Sphere
Best for:
- Heads
- Eyes
- Fruit
- Rounded objects
Cube
Best for:
- Buildings
- Furniture
- Mechanical objects
Cylinder
Best for:
- Arms
- Legs
- Cups
- Bottles
Cone
Best for:
- Trees
- Hats
- Rockets
Master these first.
How to Draw a Cube in Perspective
Perspective scares many beginners because they overcomplicate it. Start simple.
Step 1: Draw a Square
Keep the lines loose.
Step 2: Add Depth Lines
Pull diagonal lines backward from each corner. All lines should move in the same direction.
Step 3: Connect the Back Corners
Join the lines to complete the box. Now you have a cube.
Step 4: Shade One Side
Choose one light direction. Darken the side facing away from the light. This instantly creates depth. Repeat this exercise from different angles daily.
How to Shade a Sphere Using Cross-Hatching
Shading teaches form better than outlines alone.
Try this simple process.
Step 1: Draw a Circle
Keep it light.
Step 2: Pick a Light Source
Imagine a lamp shining from one side.
Step 3: Add Curved Hatch Lines
Draw short curved lines around the sphere shape. The lines should wrap around the form.
Step 4: Increase Line Density
Place more lines in darker areas. Keep fewer lines near the light.
Step 5: Leave a Highlight Area Blank
Do not shade the brightest spot. This creates a realistic surface effect. Cross-hatching helps beginners understand light and volume fast.
Build Real Objects Using Shapes
This is where drawing becomes practical. Instead of copying outlines, you build objects piece by piece.
Draw a Simple Cartoon Character
Step 1: Start With a Circle
This becomes the head.
Step 2: Add a Box for the Body
Keep it simple.
Step 3: Use Cylinders for Arms and Legs
Do not draw muscles yet. Focus on direction and length.
Step 4: Add Small Shapes for Hands and Feet
Use ovals or rectangles.
Step 5: Refine the Outline
Now connect the forms smoothly. This method improves character drawing much faster than tracing finished art.
Draw Everyday Objects From Shapes
Pick one object daily. Break it into forms before drawing details.
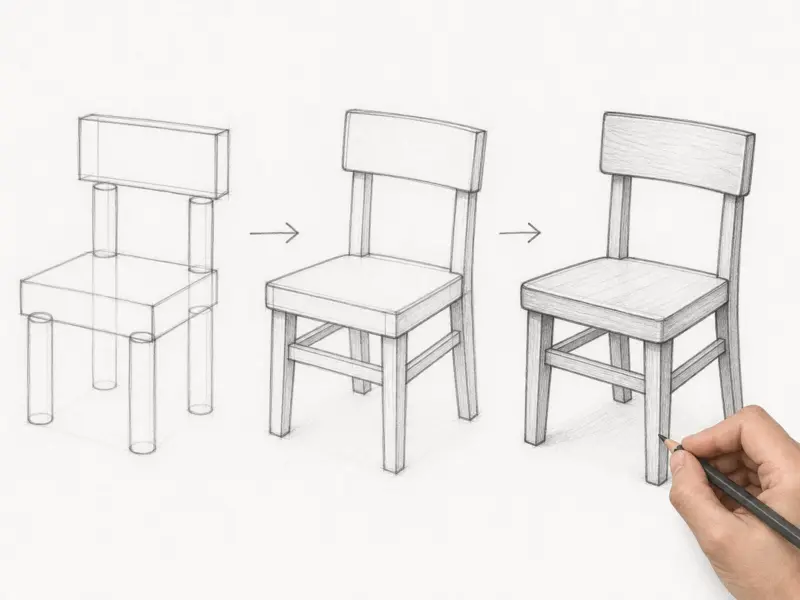
Example: Drawing a Chair
- Seat = rectangle
- Legs = cylinders
- Backrest = tall rectangle
Example: Drawing a Car
- Body = long box
- Wheels = circles
- Roof = curved rectangle
Example: Drawing a Tree
- Trunk = cylinder
- Leaves = sphere or cloud shape
This trains your brain to simplify complex subjects. That skill matters more than memorizing tutorials.
A Daily Shape Practice System Most Beginners Skip
Many people practice randomly. That slows progress. Use a structured routine instead.
The 20-Minute Shape Drill
First 5 Minutes: Line Warm-Ups
Draw:
- Straight lines
- Curved lines
- Circles
- Ellipses
Focus on smooth movement.
Next 5 Minutes: 2D Shapes
Fill a page with:
- Squares
- Triangles
- Ovals
- Rectangles
Rotate them in different directions.
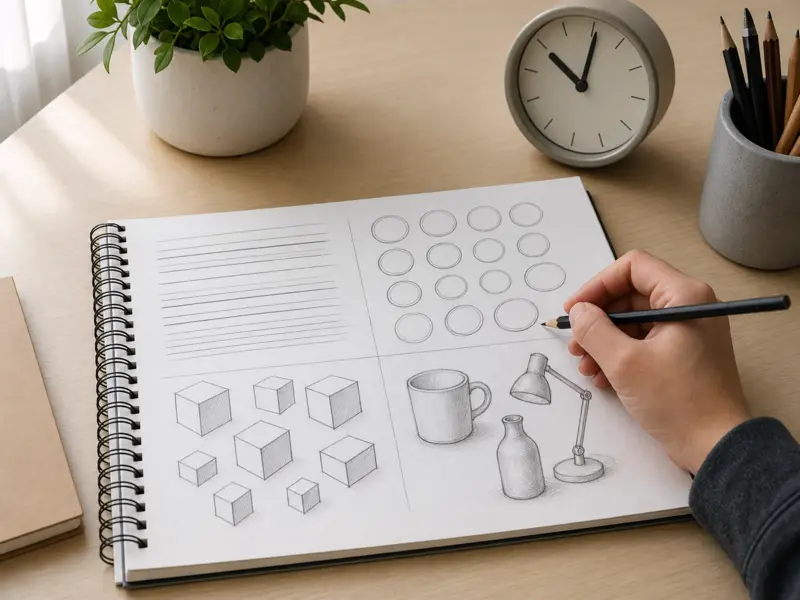
Next 5 Minutes: 3D Forms
Practice:
- Cubes
- Cylinders
- Spheres
- Cones
Add light shading.
Final 5 Minutes: Object Construction
Choose one simple object. Break it into forms first. Then refine it slowly.
This routine builds:
- Muscle memory
- Observation skills
- Perspective understanding
- Faster sketching ability
Consistency matters more than long sessions.
The Missing Skill: Shape Transformation
Most tutorials stop at basic forms. They rarely explain how shapes change into finished drawings. That transformation step matters most.
How to Transform Shapes Into Finished Art
Start with rough construction. Do not worry about clean lines yet.
For example:
- Draw a sphere for the head
- Add a jaw shape
- Add center guidelines
- Attach cylinders for the neck
- Refine facial features slowly
This process works for:
- Characters
- Animals
- Vehicles
- Buildings
Advanced artists constantly adjust shapes underneath the final drawing. Beginners often hide construction lines too early. Keep them visible until the structure feels correct. That one habit improves accuracy fast.
Common Mistakes Beginners Make
Drawing Details Too Early
Always build structure first.
Pressing Too Hard
Use light lines during construction. Dark lines make corrections harder.
Ignoring Perspective
Even simple forms need depth direction.
Practicing Finished Drawings Only
Construction practice matters more.
Avoiding Repetition
Drawing 100 cubes teaches more than drawing one detailed sketch.
FAQ About Basic Shapes for Drawing
What are the basic shapes in drawing?
The main basic shapes are circles, squares, rectangles, triangles, and ovals. Artists turn these into 3D forms like cubes and spheres.
Why are shapes important in art?
Shapes create structure. They help artists draw proportions, depth, and realistic objects more accurately.
What is the difference between shape and form?
A shape is flat and two-dimensional. A form has depth and volume, like a cube or sphere.
How can beginners practice drawing shapes?
Practice daily using circles, cubes, cylinders, and simple object construction exercises. Focus on clean lines and consistent repetition.
How do artists turn shapes into objects?
Artists combine multiple shapes together. For example, a body may use spheres for joints and cylinders for limbs.
Final Thoughts About Basic Shapes for Drawing
Basic Shapes for Drawing are the foundation of every strong drawing. Do not rush into details. Learn how circles, cubes, cylinders, and triangles work first. Then build everything else from them.
Start small:
- Practice shapes daily
- Turn shapes into forms
- Build simple objects
- Refine slowly
One page of focused shape practice each day will improve your drawing faster than copying finished artwork for hours.