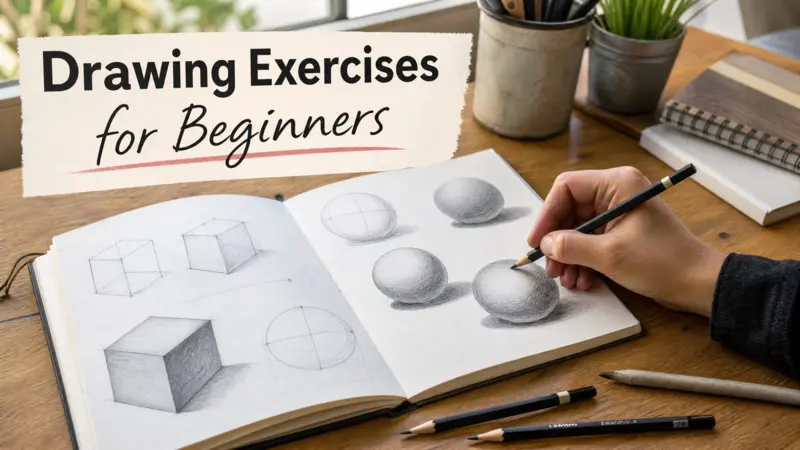
Drawing Exercises for Beginners That Build Real Skill
Most beginner artists quit too early. Not because they lack talent, but because they practice the wrong way. Many people spend hours copying random sketches without learning the core skills behind good drawing. They draw eyes one day, anime hair the next day, then jump into portraits before understanding shape, light, or perspective. The result feels frustrating. Progress looks slow. Confidence drops fast.
That is why focused drawing exercises for beginners matter so much.
A good drawing exercise trains one skill at a time. It improves hand control, observation, shading, perspective, and visual memory. Small drills build the foundation for everything else. Think of it like learning basketball. You do not start with trick shots. You first learn dribbling, passing, and footwork.
Why Most Beginners Struggle With Drawing Practice
Many beginners believe drawing is about talent. It is not. Drawing is mostly observation and repetition. The real problem is unfocused practice. A lot of new artists sit down with no plan. They open Pinterest, copy a cool image, and hope they improve naturally. That feels productive, but it trains very little. Your brain improves faster when each session targets a specific skill.
For example, drawing twenty circles teaches hand control. Drawing cubes teaches perspective. Shading spheres teaches light direction and value. These are foundational skills. Once they improve, every future drawing becomes easier. Another problem is drawing too slowly. Beginners often spend two hours fixing tiny details. That creates fear of mistakes. Fast sketching works better because it trains confidence and observation. Your goal should not be creating perfect art every day. Your goal is building visual skills through repetition.
Start with short daily sessions:
- 10 minutes of line control
- 10 minutes of shapes
- 10 minutes of shading
- 10 minutes of sketching objects
That simple routine creates faster improvement than random drawing sessions. You also need to stop erasing constantly. Every mistake teaches something. When you erase too often, you interrupt the learning process. Instead, finish the sketch and study what went wrong afterward.
The fastest-improving artists usually do three things:
- Practice daily
- Focus on fundamentals
- Draw from real objects often
This article follows that exact approach.
Line and Shape Exercises Every Beginner Should Master
Lines and shapes are the alphabet of drawing. Every complex sketch starts with them. If your lines feel shaky, your drawings will look stiff. If your shapes feel uneven, proportions become harder later. That is why these exercises matter so much.
Exercise 1: Straight Line Control
Take a blank page. Draw two dots about five inches apart. Now connect them with one smooth line. Do not move slowly. Fast strokes work better. Use your shoulder, not only your wrist. Slow drawing creates wobble. Fast confident strokes create cleaner lines.
Repeat this exercise for ten minutes.
Practice:
- Horizontal lines
- Vertical lines
- Diagonal lines
- Curved lines
- S-shaped lines
Try not to trace over mistakes. Draw a new line instead. This builds muscle memory and hand confidence.
Exercise 2: Circle Drills
Most beginners draw uneven circles. That hurts character drawing, anatomy, and object sketching later.
Here is how to practice properly:
- Draw a small box
- Fit a circle inside it
- Use light strokes first
- Darken the best outline afterward
Fill entire pages with circles and ellipses. Then rotate the page angle and repeat. This trains your hand to move comfortably in all directions.
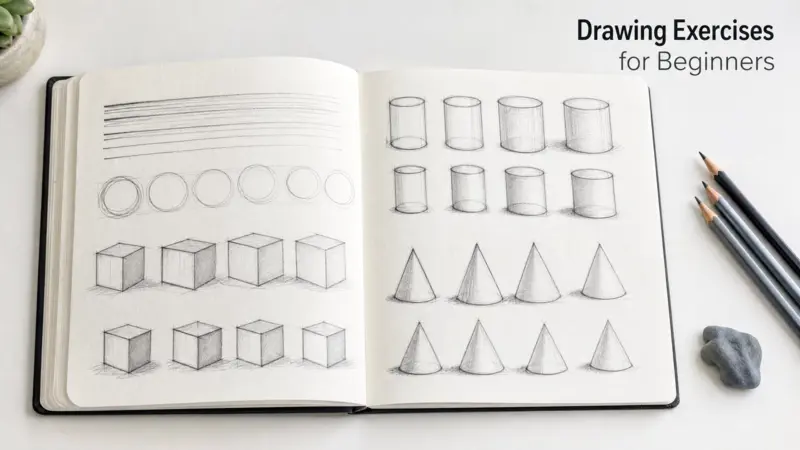
Exercise 3: Basic Shape Construction
Everything can be simplified into:
- Cubes
- Cylinders
- Spheres
- Cones
A coffee mug is a cylinder. A head is a sphere with structure. Buildings start as cubes. Place real objects on a table. Break them into basic forms before adding details.
For example:
- Apple = sphere
- Soda can = cylinder
- Book = cube
- Lamp = cone + cylinder
This teaches your brain to think like an artist instead of copying outlines blindly.
Exercise 4: Shape Rotation Practice
Draw a cube. Now rotate it slightly and redraw it from another angle. Repeat this process with cylinders and spheres. This exercise strengthens spatial awareness. It also improves imagination drawing later. Beginners often avoid this because it feels difficult. That is exactly why it works. Spend at least 20 minutes daily on line and shape drills during your first month.
Shading Exercises That Make Drawings Look Real
Good shading creates depth. Without shading, drawings look flat and lifeless. Most beginners shade randomly. They press harder in dark areas without understanding light direction. Strong shading starts with understanding value. Value means how light or dark something appears.
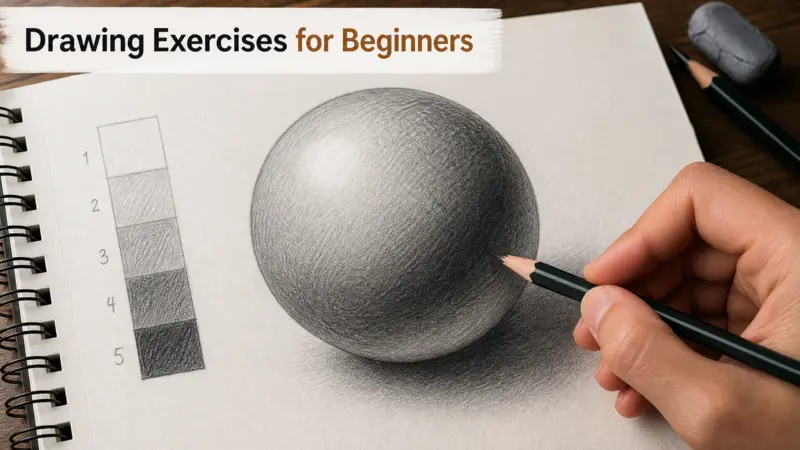
Exercise 1: Create a Value Scale
Draw a long rectangle. Split it into ten equal boxes. The first box stays white. The last box becomes black. Fill the middle boxes with gradual shades from light to dark. Use smooth pencil pressure changes. This exercise teaches control. Many artists skip this because it looks boring. That is a mistake. Value control affects every realistic drawing you will ever create.
Exercise 2: Shade a Sphere Step by Step
This is one of the best drawing exercises for beginners.
Follow these steps carefully:
Step 1: Draw a Clean Circle
Keep the shape simple. Do not worry about perfection.
Step 2: Pick a Light Source
Imagine light hitting the sphere from the top left.
That means:
- Top left stays brightest
- Bottom right becomes darkest
Step 3: Add Midtones
Use light circular pencil strokes around the middle area. Keep the pressure soft.
Step 4: Build the Shadow Side
Darken the side opposite the light. Blend gradually between light and dark areas.
Step 5: Add the Cast Shadow
Draw a shadow beneath the sphere. Make it darkest closest to the object.
This single exercise teaches:
- Light direction
- Form
- Depth
- Contrast
- Blending control
Practice spheres every week.
Exercise 3: Cross-Hatching Technique
Cross-hatching uses overlapping lines to create shading. Start with parallel lines. Then layer another set of lines crossing the first direction. The closer the lines, the darker the value.
Practice shading:
- Cubes
- Cylinders
- Fabric folds
- Fruit
Cross-hatching improves texture and line confidence at the same time.
Exercise 4: Texture Studies
Realistic drawing depends on texture observation.
Choose simple textures:
- Wood
- Metal
- Cloth
- Stone
- Hair
Spend five minutes studying each texture before drawing it.
Look for:
- Pattern repetition
- Highlight areas
- Shadow edges
- Surface roughness
Texture practice trains observation skills faster than random sketching.
Perspective and Observation Exercises for Fast Improvement
Perspective makes drawings believable. Without perspective, objects float awkwardly or look distorted. Many beginners avoid perspective because it seems technical. In reality, simple perspective rules solve many drawing problems quickly.
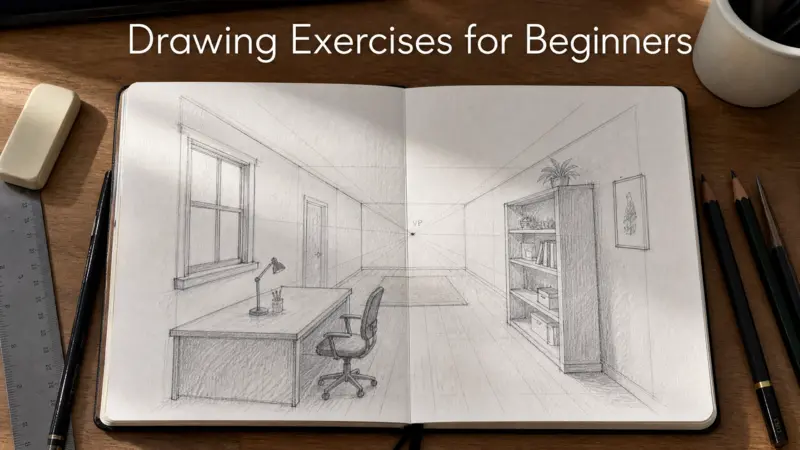
Exercise 1: One-Point Perspective Room
Draw a horizontal line across the page. Place one dot in the center. This is the vanishing point.
Now draw:
- A square room
- Windows
- A bed
- Shelves
- A desk
Connect all depth lines to the vanishing point. This teaches how objects move in space.
Exercise 2: Draw Boxes From Different Angles
Boxes are perspective training machines. Fill pages with cubes facing different directions. Do not use rulers all the time. Freehand practice improves accuracy faster.
Focus on:
- Parallel edges
- Depth consistency
- Angle alignment
This exercise builds confidence for architecture, vehicles, and environments later.
Exercise 3: Blind Contour Drawing
This exercise feels strange but works incredibly well. Place an object in front of you. Now draw it without looking at your paper. Keep your eyes only on the object. Move your pencil slowly while tracing the edges visually. Your drawing will look messy. That is normal. The purpose is improving observation, not creating pretty art. This trains your brain to notice shapes instead of symbolic shortcuts.
Exercise 4: Timed Gesture Drawing
Gesture drawing improves movement and energy.
Set a timer for:
- 30 seconds
- 1 minute
- 2 minutes
Sketch human poses quickly.
Focus only on:
- Movement
- Action lines
- Balance
- Flow
Ignore details completely. This prevents stiff drawings and improves confidence.
Exercise 5: Draw Household Objects Daily
Many beginners depend too much on photos. Real-life observation works better.
Draw:
- Shoes
- Cups
- Plants
- Backpacks
- Chairs
Real objects teach depth and lighting naturally. Photos flatten information. Real observation strengthens spatial awareness.
A Simple 30-Day Drawing Practice Plan
Most articles list exercises but never explain how to organize them. That creates overwhelm. This 30-day structure keeps practice simple and focused.
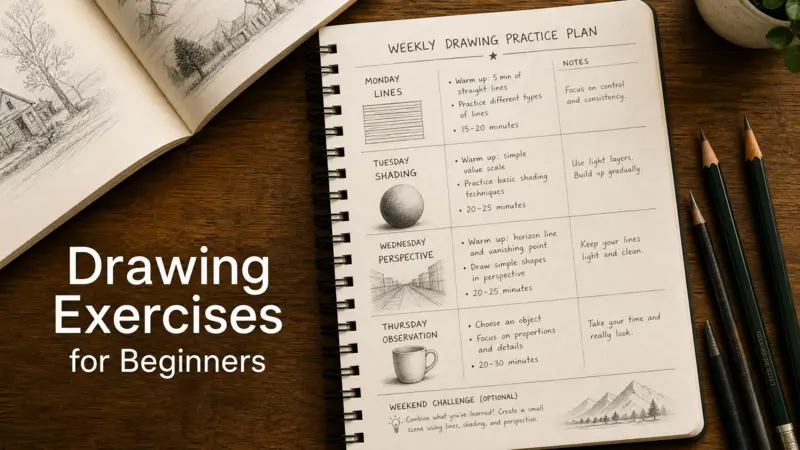
| Week | Main Focus | Daily Practice |
|---|---|---|
| Week 1 | Lines and shapes | Lines, circles, cubes |
| Week 2 | Shading | Value scales, spheres |
| Week 3 | Perspective | Boxes, rooms, objects |
| Week 4 | Observation | Real-life sketching |
Daily Beginner Routine
First 10 Minutes: Warm-Up
Practice:
- Straight lines
- Ellipses
- Curves
- Quick circles
This loosens your hand.
Next 15 Minutes: Skill Drill
Focus on one topic only:
- Shading
- Perspective
- Gesture
- Shapes
Do not mix too many skills together.
Final 20 Minutes: Real Drawing
Apply the skill in an actual sketch.
For example:
- Practice shading on fruit
- Practice perspective in a room sketch
- Practice shapes while drawing a robot
This step connects exercises to real art. Many beginners skip application practice. That slows improvement.
Track Progress Weekly
Keep old sketches. Do not throw them away.
Compare:
- Week 1 circles
- Week 4 circles
The improvement becomes obvious. Progress feels slow daily but huge monthly.
Most Drawing Guides Miss
Most beginner drawing articles focus only on technique. Very few explain visual analysis. That is the missing skill. Good artists do not simply draw what they see. They simplify information mentally before drawing.
For example, when beginners draw a face, they often focus on:
- Eyelashes
- Lips
- Tiny details
Experienced artists first analyze:
- Head shape
- Perspective angle
- Light source
- Major shadows
This changes everything.
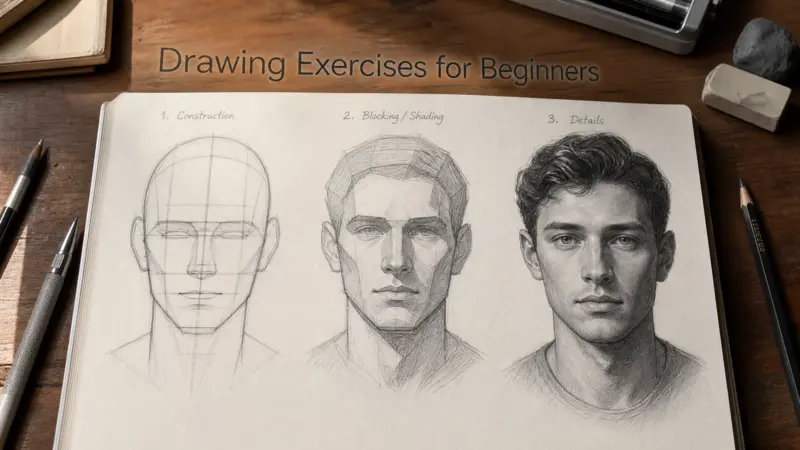
Use the “Three-Layer Observation Method”
Before drawing anything, study it in three layers.
Layer 1: Big Shapes
Ignore details completely.
Ask:
- What is the largest shape?
- What basic form does it resemble?
Example:
- Head = sphere
- Arm = cylinder
Layer 2: Light and Shadow
Squint your eyes slightly.
This simplifies values.
Notice:
- Biggest dark area
- Brightest highlight
- Midtone zones
Layer 3: Small Details
Only after structure looks correct should you add:
- Texture
- Wrinkles
- Hair
- Small edges
This method prevents messy drawings. It also improves speed dramatically. Most beginners work backward. They start with details first and lose structure. Train your eyes before training details. That is one of the fastest ways to improve drawing quality.
Common Mistakes Beginners Should Avoid
Many drawing problems come from habits, not lack of talent.
Drawing Too Dark Too Early
Use light lines first. Dark heavy outlines are hard to fix. Professional artists build sketches gradually.
Zooming Into Details Too Soon
Always start big. Tiny details matter only after proportions work correctly.
Practicing Only Favorite Subjects
Many beginners only draw anime eyes or faces. That creates uneven skills.
Practice:
- Objects
- Hands
- Perspective
- Animals
- Fabric
- Nature
Balanced practice creates faster overall growth.
Avoiding Difficult Subjects
Weaknesses improve only through repetition. If hands look bad, draw hands daily. Do not avoid them.
Comparing Yourself Constantly
Compare your current work only with your older work. Skill growth takes time. Consistent practice matters more than natural talent.
FAQ About Drawing Exercises for Beginners
What are the best drawing exercises for beginners?
The best exercises include line drills, circle practice, cube construction, shading spheres, gesture drawing, and observational sketching. These improve core drawing skills faster than random copying.
How long should beginners practice drawing daily?
Thirty to sixty minutes daily works well. Consistency matters more than long sessions once a week.
Can I learn drawing without talent?
Yes. Drawing is a learned skill. Observation, repetition, and structured practice matter more than natural ability.
Should beginners draw from photos or real life?
Both help, but real-life observation improves depth and perspective faster. Use household objects often.
What pencil should beginners use?
An HB pencil works well for sketching. A 2B pencil helps with darker shading and smoother values.
Conclusion
Drawing improvement comes from focused repetition, not random sketching. Start simple. Practice lines, shapes, shading, and observation daily. Train one skill at a time. Keep sessions short but consistent. Do not chase perfection during early practice. The fastest way to improve is combining technical drills with real drawing application. Draw objects around you. Study light carefully. Simplify forms before adding detail. Most beginners quit because they expect instant results. Real progress looks gradual at first. Then suddenly your hand control, shading, and confidence start improving together. Pick three exercises from this guide and practice them today. That single step matters more than reading ten more tutorials.