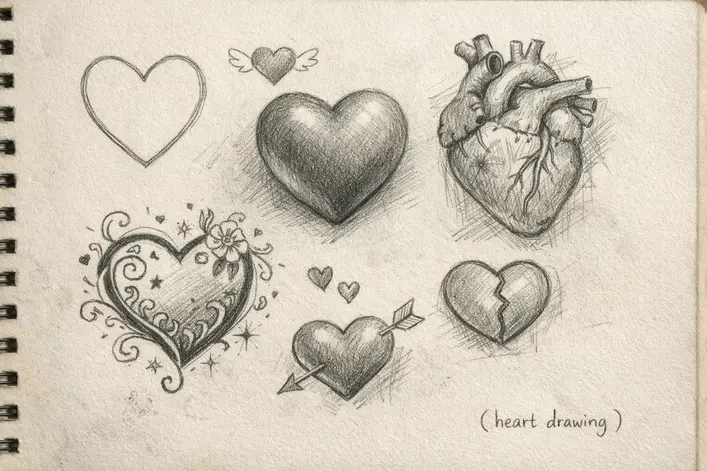
Heart Drawing: The Complete Guide for Beginners (Easy, Cute, Realistic and Creative Ideas)
❤️ Heart Drawing Idea Generator
Click the button to get a new heart drawing idea and practice instantly.
Introduction: Why Heart Drawing Is One of the Most Loved Art Subjects
Many people start their art journey with a heart drawing. The shape feels simple and friendly. Two soft curves meet at a point. That small form holds a powerful meaning. The heart symbol represents love, care, and connection. People across cultures understand it instantly. Researchers from Stanford University note that symbols help humans communicate emotion quickly. The heart shape became one of the strongest emotional icons in modern culture. That simple symbol appears in art, messages, and daily design. Artists often sketch hearts without thinking. The shape feels natural and expressive.
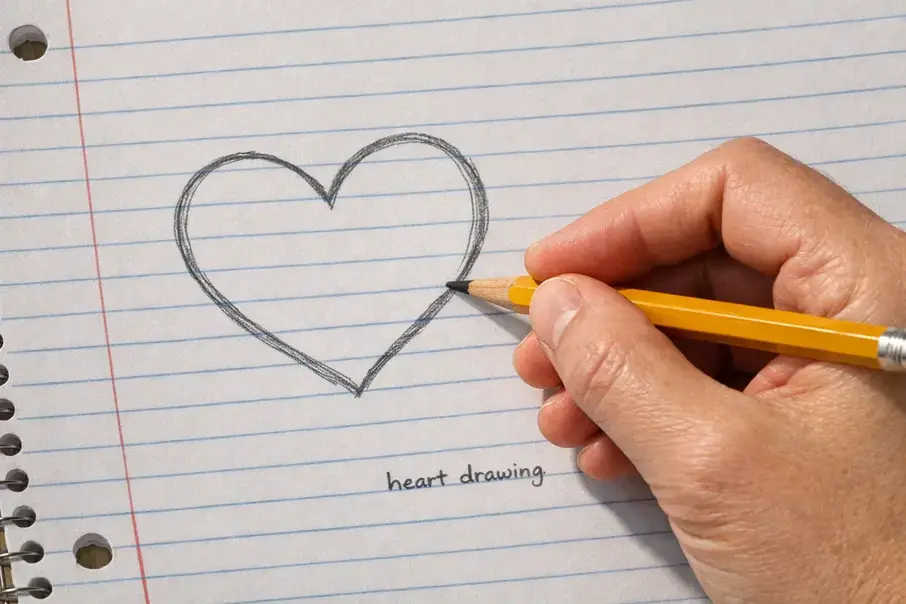
Heart drawing attracts beginners for a clear reason. The form looks simple. Anyone can attempt it. You only need two curved lines. If you can draw those curves, you can draw a heart. Many teachers introduce drawing through basic shapes. Circles, squares, and triangles form the foundation. The heart shape fits perfectly into that learning path. It teaches control of curves and symmetry. Those skills support many future drawings. I remember filling sketchbook pages with tiny hearts when I first practiced drawing. The exercise felt relaxing. Each sketch improved my hand control. Many artists share this same starting point. A simple heart sketch often appears before more complex work. That small drawing builds confidence. Confidence keeps beginners practicing.
Heart drawings appear everywhere in creative life. Kids enjoy drawing them in school projects. Teachers use them in early art lessons. Friends draw them inside greeting cards. Couples add them to love notes and decorations. Designers include them in tattoos, logos, and digital illustrations. Around Valentine’s Day, heart sketches fill cards, crafts, and classroom boards. The shape connects art with emotion. That connection makes it memorable. A heart drawing also works as daily sketchbook practice. Artists use it to warm up before larger drawings. The shape trains balance and line flow. It also invites creativity. One heart can turn into many designs.
Understanding the Shape of a Heart (Before You Draw)
A good heart drawing starts with understanding the shape. Many beginners rush into drawing lines. The result often looks uneven or flat. A heart becomes easy once you see its structure. The shape follows a simple idea. Two curves sit on top. A sharp point sits at the bottom. That basic structure forms the classic heart symbol. Think of the heart as a balanced design. Both sides should mirror each other. Artists call this symmetry. Symmetry means both halves share the same shape and size. When symmetry works well, the heart looks smooth and natural. When it fails, the drawing looks tilted or stretched. Even small mistakes can break the balance.
Many beginners struggle with this step. I struggled with it too when I first practiced heart sketches. One trick changed my approach. I began drawing a light center line first. That vertical line divides the heart into two equal parts. Each side follows that guide. The line acts like a silent ruler. It keeps both curves balanced. Many art teachers suggest this method in beginner drawing lessons. The approach appears in guides from The Metropolitan Museum of Art education resources. Simple guide lines help artists control shape and proportion.
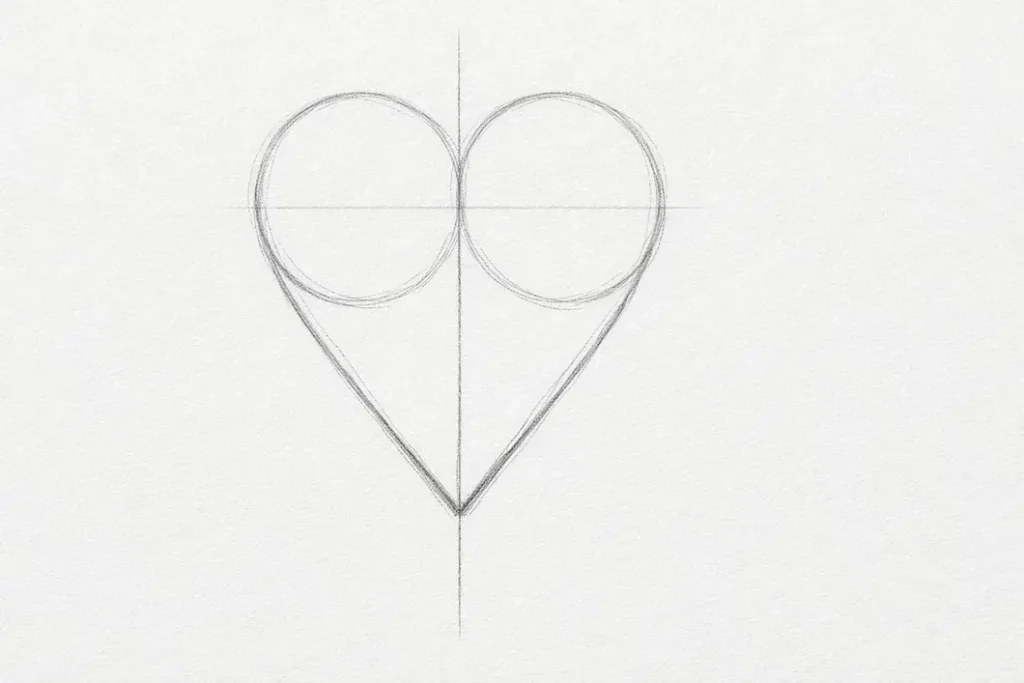
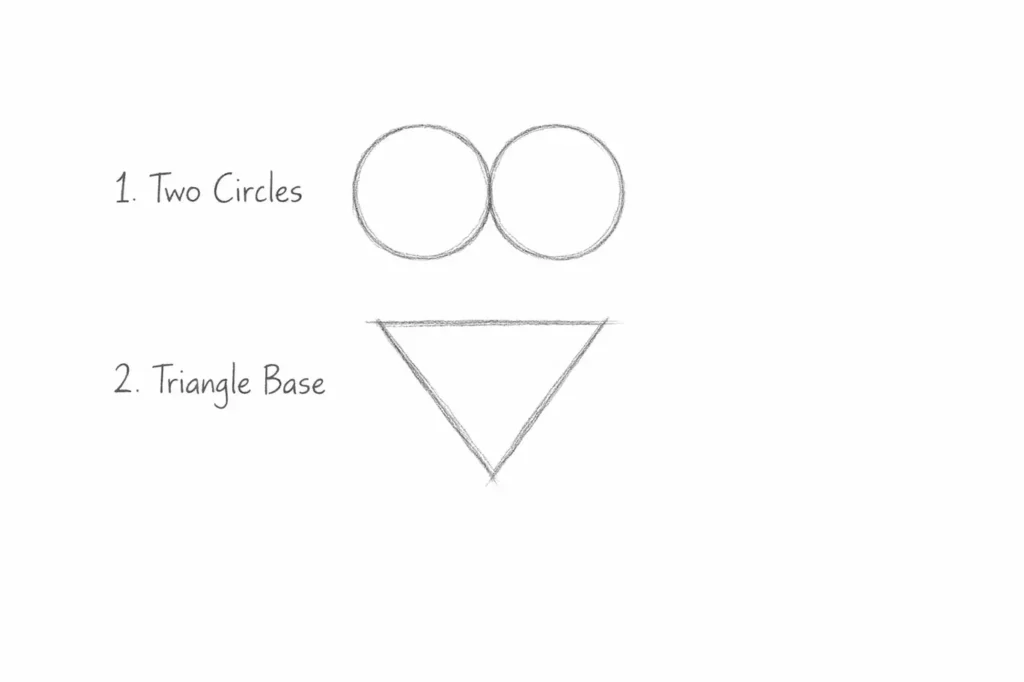
Basic shapes also help build the heart form. Circles work well for the top curves. Two small circles can guide the round sections. The circles create soft edges and smooth curves. A triangle helps shape the lower point. The triangle guides the sharp bottom where both sides meet. These simple forms turn a complex shape into an easy structure. Guide lines act like a map for your drawing. They show where curves should begin and end. Artists often sketch these lines very lightly. Later they erase them once the outline looks correct. This method reduces mistakes and improves confidence.
A helpful way to remember the structure is the simple heart formula.
Top: two soft curves.
Bottom: one sharp point.
Center: a symmetry line.
This small framework helps beginners understand the heart shape quickly. Instead of guessing, you follow a clear structure. The hand moves with more control. Over time, the guide lines become less necessary. Your eye begins to recognize balance naturally. Understanding this structure also builds stronger drawing skills. Curves, symmetry, and shape control appear in many art styles. Cartoon art, logos, and character design all use these same ideas. Practicing heart shapes trains your hand to draw smoother curves. It also trains your eye to notice balance. Once you understand this shape, drawing a heart feels much easier. The next step will show how to turn this structure into a clean heart drawing step by step.
How to Draw a Heart Step-by-Step (Beginner Method)
A heart drawing becomes easy when you follow clear steps. Many beginners try to draw it in one motion. The shape often becomes uneven. A simple process helps your hand stay steady. Artists often build shapes slowly before adding the final outline. I still follow this method when I warm up in my sketchbook. It keeps the drawing balanced and clean.
Start with a light pencil. Use soft lines that you can erase later. A small mistake becomes easy to fix when the pressure stays light.
Step 1: Draw a vertical symmetry line.
Place a straight line down the center of your page. This line divides the heart into two equal halves. It guides both sides of the drawing. Many beginners skip this step. The heart then leans to one side. That small guide line solves most balance problems.
Step 2: Sketch two guide circles.
Draw two small circles near the top of the center line. Each circle sits on one side of the line. These circles form the round tops of the heart. Keep them light and simple. Their job is only to guide the curves.
Step 3: Create the curved top shapes.
Trace smooth curves around the top half of each circle. Let the curves flow naturally. Both sides should mirror each other. Take your time here. Smooth curves give the heart its soft and friendly look.
Step 4: Connect curves to the bottom point.
From the outer edge of each curve, draw a line downward. Both lines meet at a single point below the circles. This point forms the bottom tip of the heart. Keep the lines smooth rather than sharp.
Step 5: Refine the outline drawing.
Now trace the final heart shape with a slightly darker line. Follow the curves carefully. Adjust small bumps or uneven areas. This step turns the rough sketch into a clean outline.
Step 6: Erase the guidelines.
Remove the circles and the center line. The heart shape now stands alone. A soft eraser works best because it keeps the paper clean.
Step 7: Add shading or coloring.
Light shading gives the heart depth. Color can bring personality and emotion. Many artists prefer red or pink for the classic love symbol. According to visual studies from Harvard University, color strongly influences emotional response in artwork.
Beginners often face a few common problems. Uneven sides appear when the curves do not match. Flat top curves make the heart look stiff. A very sharp bottom tip can also break the natural flow. Slow lines and light sketching fix most of these issues. With practice, your hand begins to remember the shape. Soon you will draw a heart smoothly without guide lines. The process becomes quick and natural, like signing your name.
The Easiest Heart Drawing Method (2-Minute Trick)
Sometimes you want to draw a heart quickly. Maybe you decorate a card. Maybe you fill a sketchbook page. In those moments, a fast trick helps a lot. Artists often use simple shortcuts to sketch shapes faster. A heart drawing becomes very easy with one small idea. Think of the number three. Start by drawing the number 3 on your paper. Use smooth curves, not sharp lines. The number already holds two natural bends. Those bends match the top curves of a heart. Now draw another 3 facing the opposite direction. Place it next to the first one. The two shapes should face each other like a mirror. When the curves touch, they form the top of a heart.
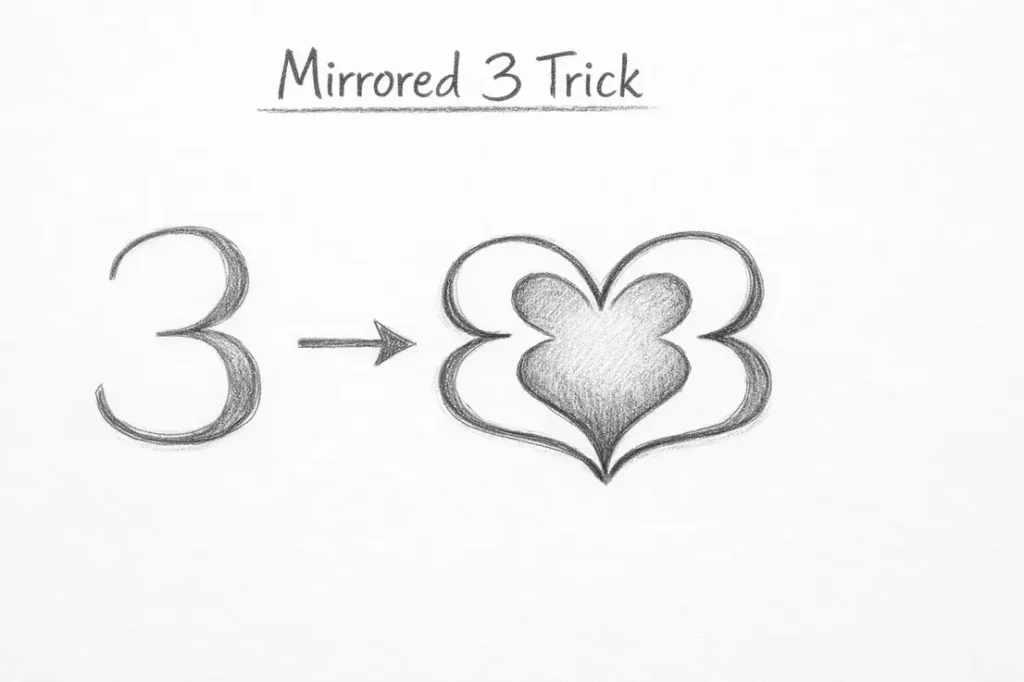
Next, draw two lines that move downward from the lower curves. Let both lines meet in a single point. That point forms the bottom tip of the heart. With just a few strokes, the heart shape appears. Many beginners feel surprised by how simple this trick feels. I first learned this method while doodling during school breaks. Friends used it to decorate notebooks and notes. The trick worked every time. It also helped people who felt nervous about drawing. The number shape gave them a clear guide. Soon the hand moved with more confidence.
Another simple trick uses paper folding. Fold a piece of paper in half. Draw half of a heart along the folded edge. Cut or trace the shape carefully. When you open the paper, the full heart appears. Both sides match perfectly. The fold acts like a natural symmetry guide. Teachers often use this method during art lessons and craft activities. The half-heart trick also works without cutting the paper. Fold the sheet lightly. Draw half of the heart along the crease. Then unfold the page and trace the second side. This approach builds strong symmetry skills. Many art educators from The Museum of Modern Art education programs encourage simple symmetry exercises for beginners.
These quick methods show an important lesson. Drawing does not always require complex steps. Small visual tricks can guide your hand. Once you practice a few times, the heart shape becomes natural. You will draw it almost without thinking. Simple tricks like these often spark creativity. After drawing one heart, people draw many more. Some add arrows or wings. Others fill the shape with patterns and colors. A quick two-minute drawing can turn into a full page of ideas.
Simple Heart Drawing Ideas for Beginners
Simple heart drawings help beginners relax and practice. The shape feels friendly and familiar. Many artists begin their sketchbooks with small heart ideas. These drawings train your hand to control curves. They also help you explore creativity without pressure. When I first practiced drawing, I filled pages with tiny heart sketches. Each one looked slightly different. Over time, the lines became smoother and more confident. Simple ideas often build strong artistic habits.
Here are a few beginner-friendly heart drawing ideas you can try.
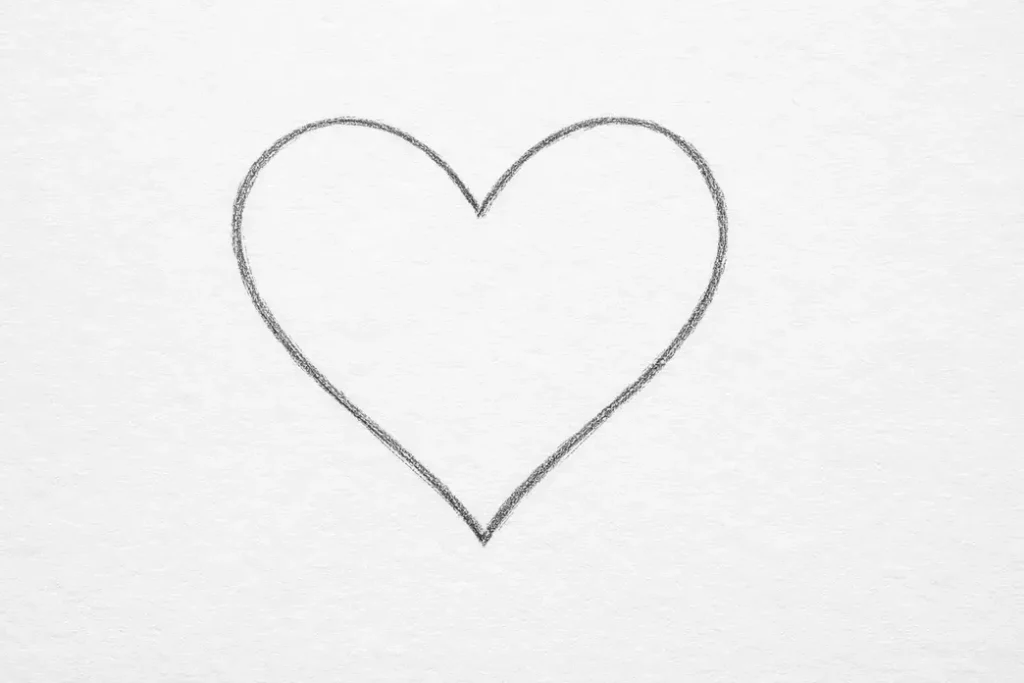
Basic heart outline
Start with the classic heart shape. Draw two smooth curves that meet at a point. Keep the lines clean and balanced. This simple outline teaches control and symmetry. Many artists return to this shape again and again. It forms the base of almost every heart design.
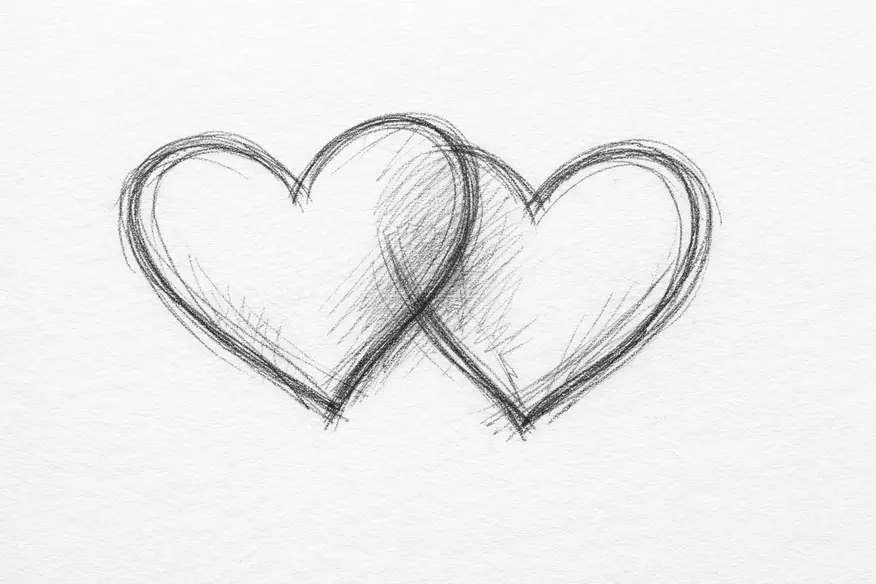
Double heart drawing
Draw one heart. Then sketch another slightly behind it. Let the two shapes overlap gently. This design often appears in cards and romantic art. It symbolizes connection and friendship. Try different sizes to make the drawing more dynamic.
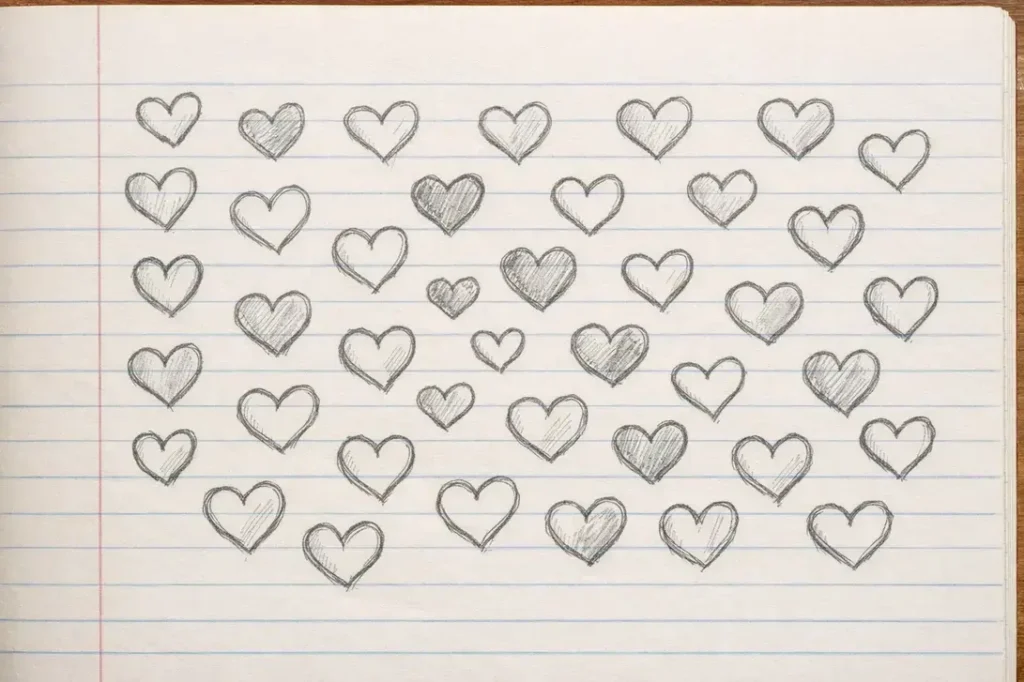
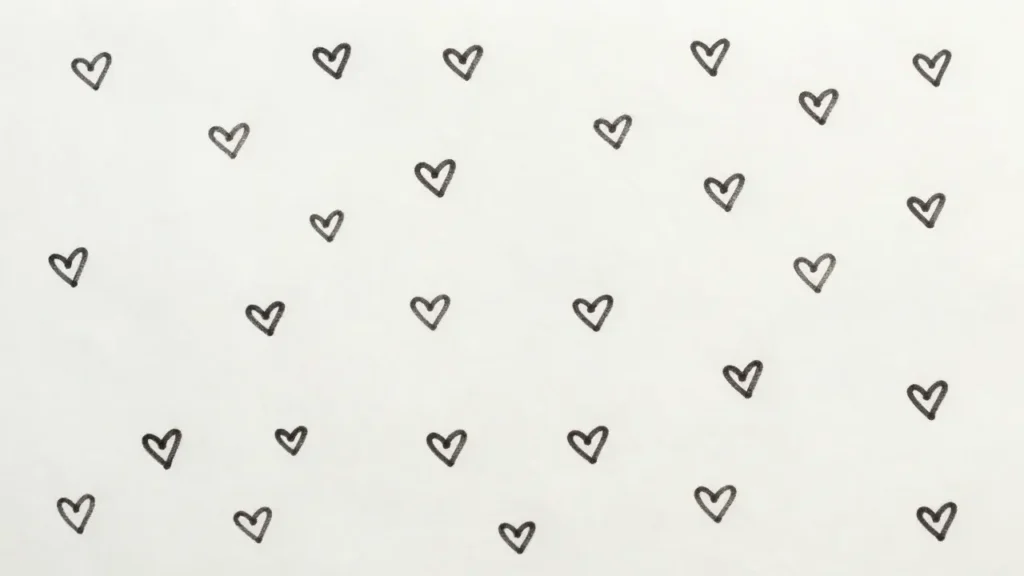
Small heart pattern
Fill a page with many tiny hearts. Place them close together like a pattern. Some hearts can tilt slightly. Others can remain upright. This exercise trains rhythm and spacing. Designers often use heart patterns in wallpapers, fabric prints, and digital backgrounds.
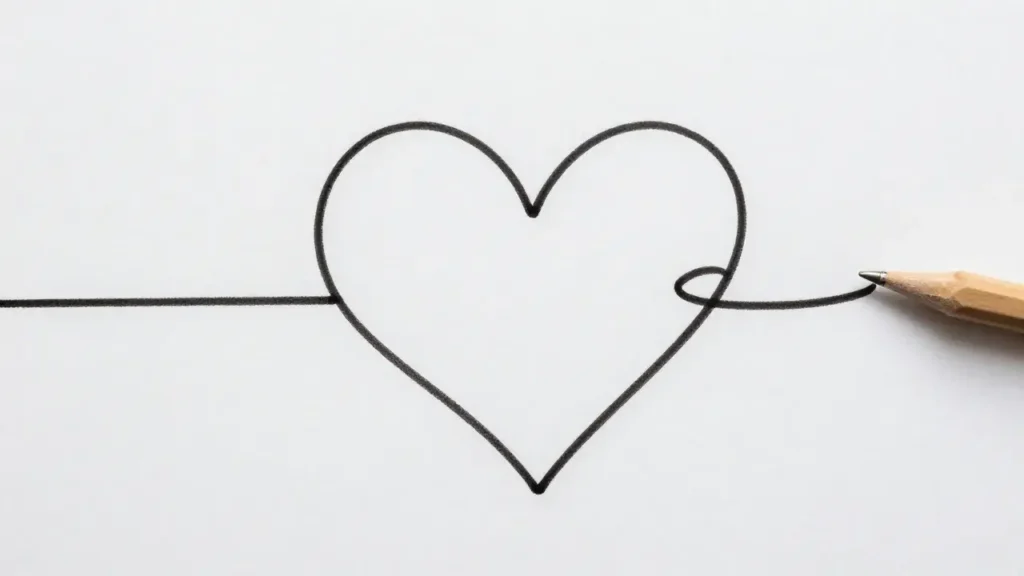
Heart line drawing
Draw a heart using one continuous line. Start at the top curve and move slowly. Let the line flow around the shape without lifting your pencil. This method feels relaxing and natural. Many modern illustrators enjoy this minimalist approach.
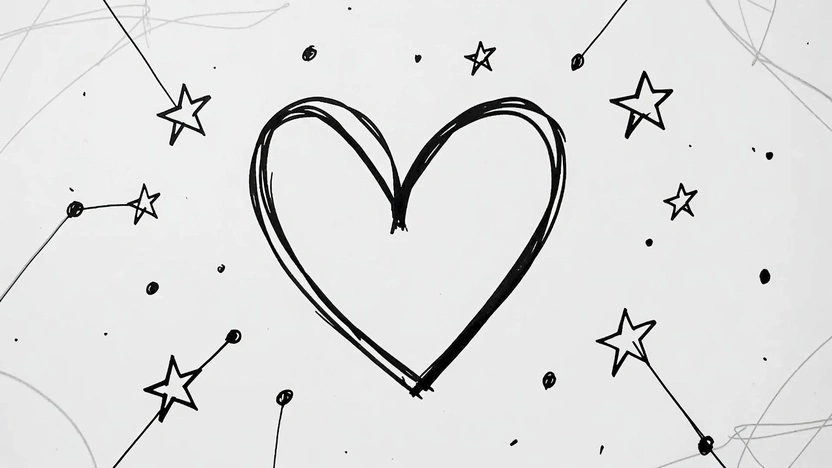
Heart doodle
Turn a heart into a playful doodle. Add tiny stars, dots, or sparkles around it. Some artists add eyes or a smile. These doodles bring personality to the drawing. They also make great decorations for notebooks or planners.
Heart inside a circle
Draw a simple circle first. Place a heart shape inside it. The circle frames the design and adds balance. Many logo designers use this structure because it feels organized and clean.
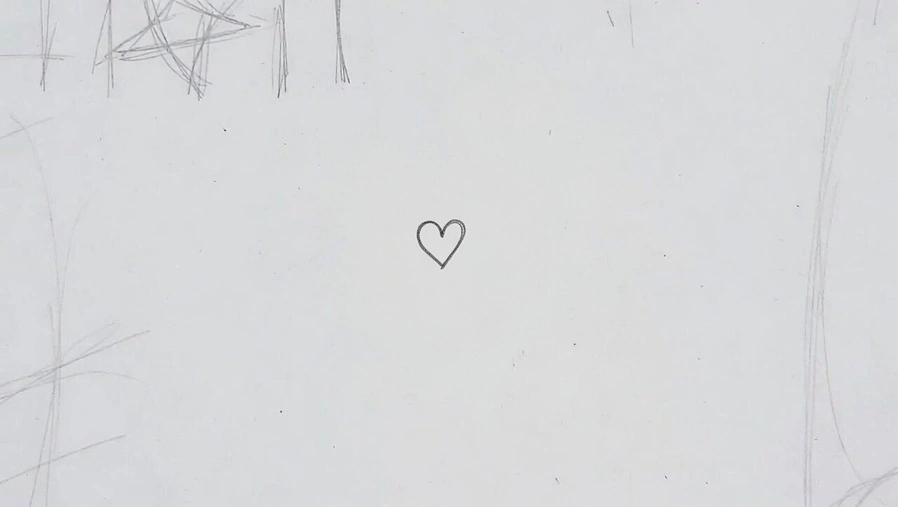
Minimalist heart
Draw a small heart with very thin lines. Keep the design simple and elegant. Minimalist drawings often look calm and modern. Museums like The Museum of Modern Art often highlight how simple forms can create powerful visual impact.
Practicing these small ideas builds confidence quickly. Each drawing takes only a minute or two. Yet every sketch improves your line control and visual balance. Soon your hand will draw heart shapes naturally. A simple idea can lead to dozens of creative variations in your sketchbook.
Cute Heart Drawing Ideas
Cute heart drawings feel warm and playful. Children especially enjoy this style because it looks friendly. Cute designs often use simple facial expressions and soft shapes. Many cartoon artists build characters using basic heart forms. The animation work of Disney shows how small facial details can create emotional connection in characters. A heart shape becomes more interesting when it carries personality.
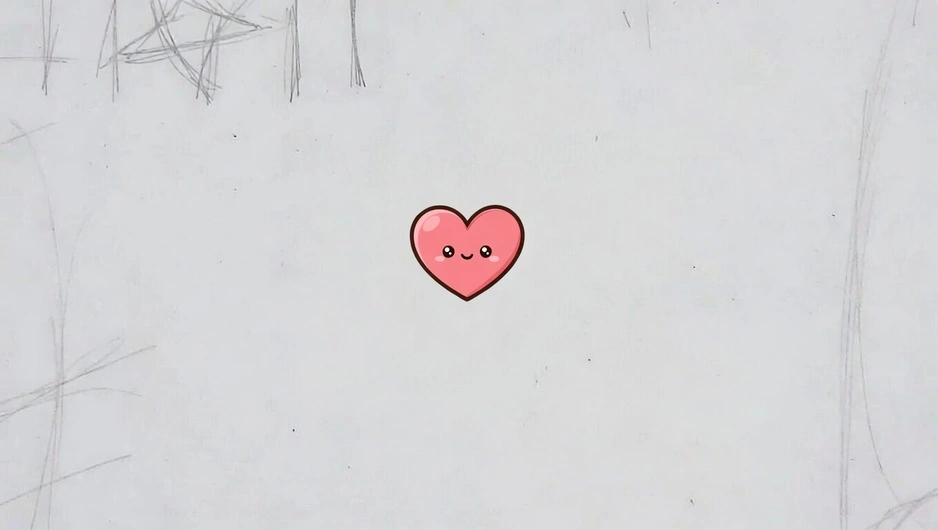
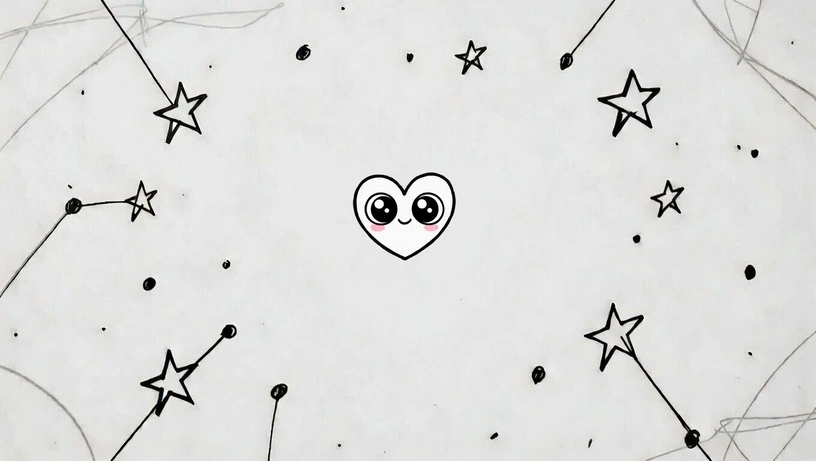
Smiling heart
Draw a small heart and add a simple smile line near the bottom. Two tiny dots can form the eyes. The smile gives the heart a happy personality. I often imagine this heart as a cheerful little character sitting inside my sketchbook page.
Heart with eyes
Place two round eyes near the upper center of the heart. Make the eyes large and soft. Small pupils inside the eyes create a cute expression. This style works well for kids’ drawing pages. Round shapes naturally feel friendly and safe to look at.
Kawaii heart
Kawaii style comes from Japanese cute art culture. The heart should look soft and gentle. Add small sparkling dots beside the eyes. Keep facial features very simple. Too many details can remove the cuteness. The feeling should stay innocent and soft.
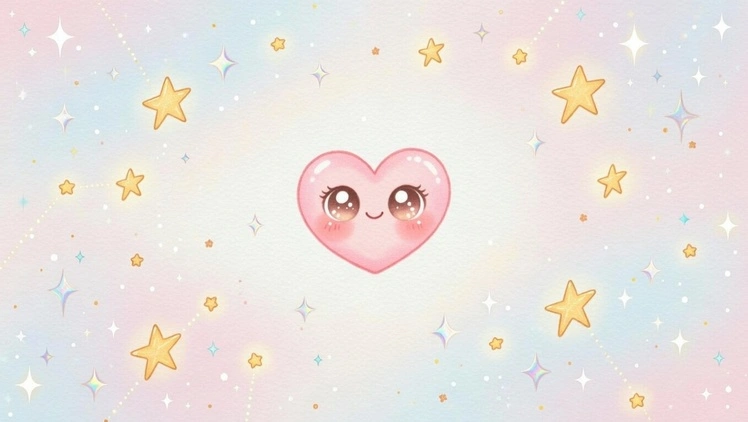
Blushing heart
Add two small blush marks under the eyes. Use light shading or small pink circles. Blush marks give emotional warmth to the drawing. This style often appears in romantic or friendly character art.

Heart character
Turn the heart into a small living character. Add tiny arms and legs to the sides. The arms can hold objects or wave. The legs can be simple straight lines with small feet. This design feels playful and story-like.
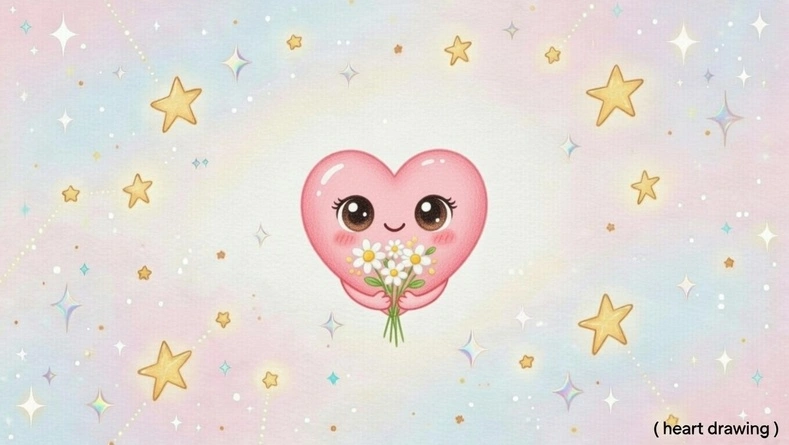
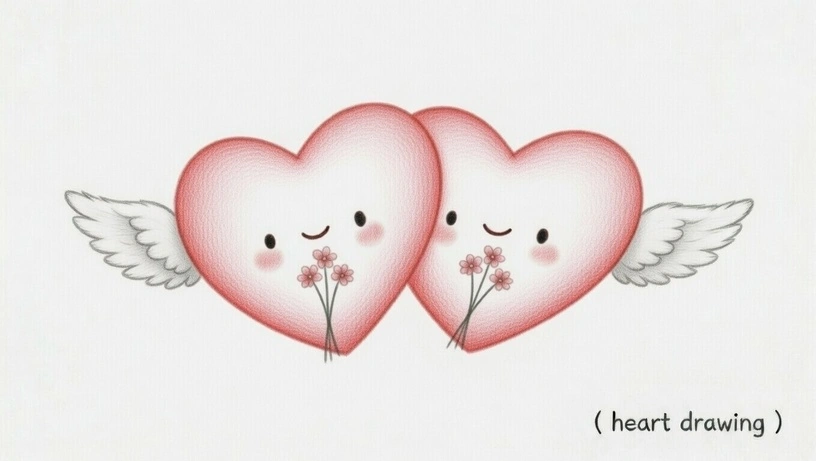
Heart holding flowers
Draw a heart shape and place small flowers in its hands. Flowers symbolize care and beauty. This design works well for greeting cards. Some artists add a single rose to keep the drawing simple.
When drawing cute hearts, facial expressions matter more than details. Small eyes, soft curves, and gentle smiles create charm. Blush marks or tiny accessories make the heart feel alive. Kids usually enjoy these playful designs because they look friendly and easy to copy. Cute heart drawing helps beginners explore character art. It teaches how emotion appears through small visual elements. One simple heart can become many different characters with just a few changes.
Romantic Heart Drawing Designs
Romantic heart drawings are popular when people want to express love visually. These designs often appear in greeting cards, wedding notes, and gift decorations. The heart symbol becomes more meaningful when combined with romantic elements. Around Valentine’s Day, many people practice drawing romantic hearts for friends and loved ones. Romantic designs usually carry emotional storytelling rather than complex artistic detail.
Heart with arrow
A heart pierced by an arrow represents love and attraction. The arrow usually enters from one side and exits from the other. This idea comes from classical love symbolism connected to stories of romance and desire. Draw the heart first, then add a thin straight arrow across it. Keep the arrow simple and clean. Too many details can make the drawing heavy.
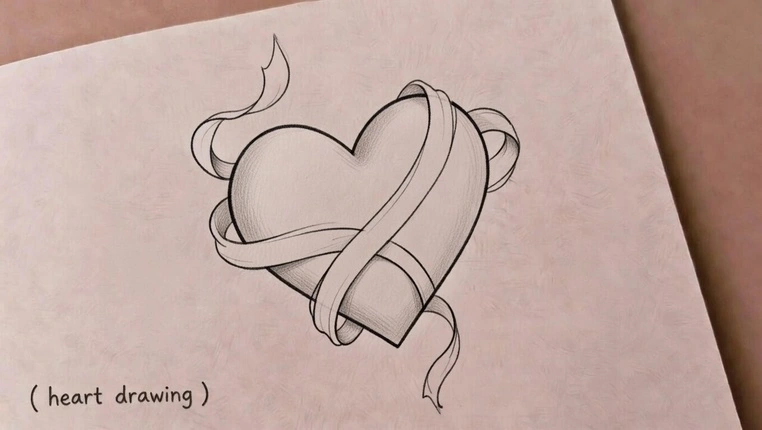
Heart with ribbon
Wrap a soft ribbon around the heart shape. The ribbon often appears at the bottom or middle section. Ribbons symbolize celebration and gift giving. This design feels like a love present wrapped with care. Use smooth flowing curves for the ribbon to keep the drawing gentle.
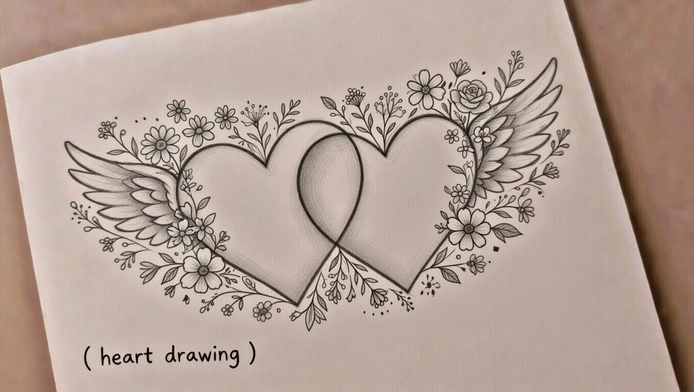
Heart with wings
Add small wings on both sides of the heart. Wings represent freedom and emotional elevation. Many people associate winged hearts with spiritual love and hope. The wings should stay balanced. Large wings can make the heart look like it is flying.

Intertwined hearts
Draw two hearts overlapping slightly. This design symbolizes connection between two people. It appears in friendship and romantic art. Make one heart slightly smaller or positioned behind the other to create depth.
Floral heart
Fill or surround the heart with small flowers. Flowers represent beauty, growth, and affection. Roses are commonly used because they are strongly connected to love symbolism. In art history, floral heart designs often appear in decorative illustration styles.
Romantic heart drawings are powerful because they communicate feeling without words. Humans naturally connect with visual symbols of love. Studies from American Psychological Association suggest that visual emotional symbols can improve memory and emotional response. When drawing romantic hearts, keep lines smooth and calm. Imagine you are creating a small love message with your pencil. The drawing does not need to be complicated. Many romantic designs become beautiful because of simplicity, not detail. A single heart with an arrow can carry more emotional meaning than a complex pattern.
These romantic designs work well for personal cards, digital illustrations, and gift decorations. Each variation tells a small story about love, connection, or emotional expression. Even a beginner can create meaningful romantic heart drawings with a few gentle lines.
Broken Heart Drawing (Emotional Style)
Broken heart drawings carry strong emotional meaning. People use them to express sadness, loss, or emotional pain. Art often helps release feelings that are difficult to say with words. When I draw a broken heart, I usually think about how emotions look when translated into lines and shapes. The broken heart symbol speaks quietly but deeply. It reminds us that love and pain sometimes live together.
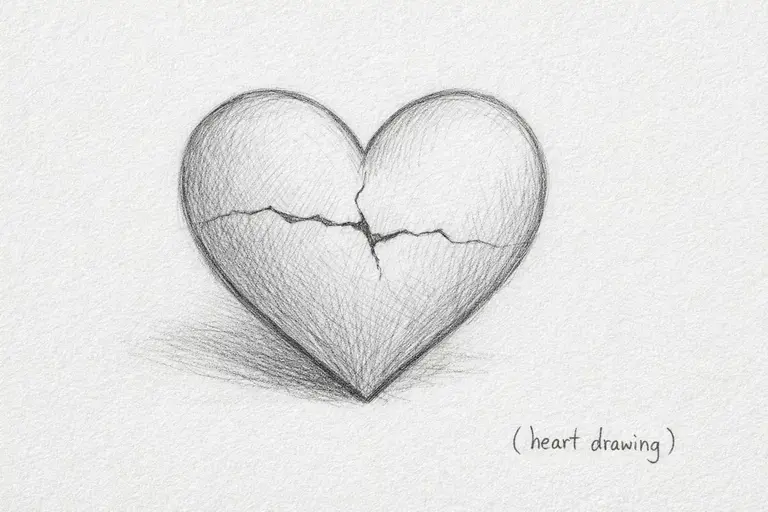
Cracked heart
Draw a normal heart shape first. Add one or two irregular crack lines across the center. The cracks should not look too straight. Real emotional cracks feel natural and uneven. This design shows emotional hurt without looking overly dramatic.
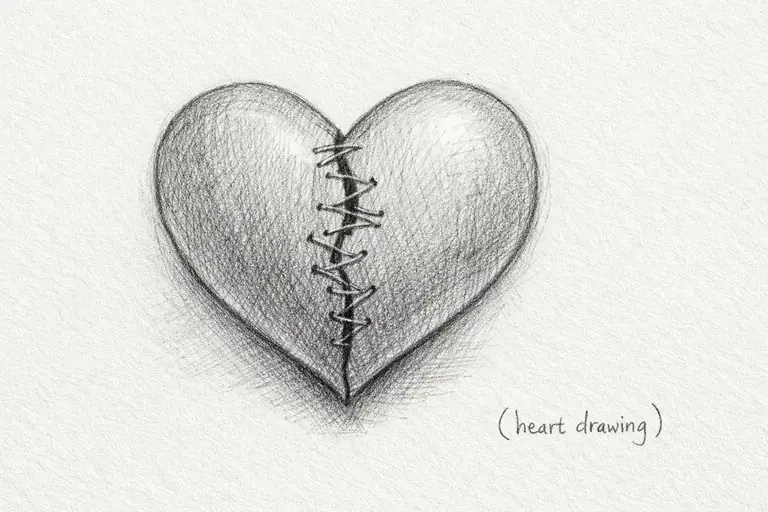
Stitched heart
Draw small stitch marks along the crack or around the heart. The stitches symbolize healing and recovery. Many people like this design because it shows hope after sadness. The stitches should look like simple sewing lines.
Shattered heart
Break the heart into several irregular pieces. Leave small gaps between fragments. This design represents strong emotional pain or heartbreak. Make the pieces slightly different in size to create a natural broken effect.
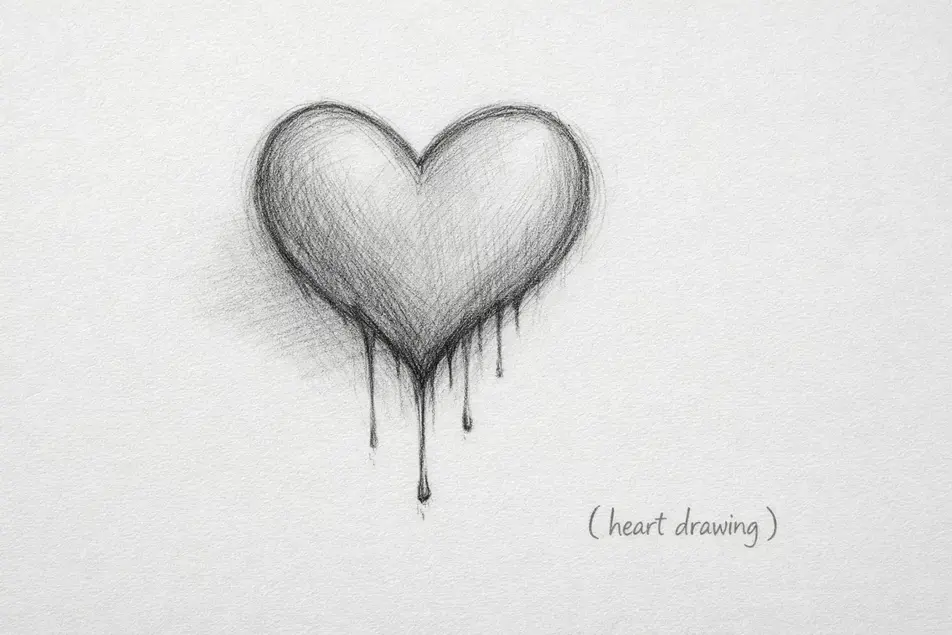
Dripping heart
Add small dripping lines from the bottom of the heart. The drips can look like melting paint or liquid falling slowly. This style expresses sadness, emotional release, or heavy feelings. Keep the drips simple and thin.
Emotional drawing has psychological value. Visual art helps people process feelings without direct conversation. According to research from World Health Organization, creative expression supports mental well-being and emotional balance. Many people draw broken hearts after difficult experiences because the shape reflects their inner state. Broken heart drawings do not need complex details. The emotion matters more than perfection. Soft lines and simple cracks usually communicate sadness better than complicated shading. Beginners should focus on natural flow rather than precision.
I personally feel broken heart drawings carry quiet strength. They show that pain exists, but it can be transformed into art. Some artists even combine broken heart designs with flowers or stitches to show emotional healing. Broken heart drawing is easy because it relies on familiar heart shapes. After drawing the base heart, you only need to add crack or fragment lines. The simplicity helps beginners practice emotional storytelling through art. Even a small broken heart sketch can carry deep meaning.
Realistic Heart Drawing (Anatomical Style)
Realistic heart drawing is different from the simple love symbol. The symbolic heart is mostly emotional and decorative. The human heart is a biological organ inside the chest. Artists who study anatomy focus on structure rather than romantic meaning. The human heart looks complex because it contains chambers, vessels, and natural curves. Many medical illustration guides from National Library of Medicine show detailed heart anatomy for educational purposes.
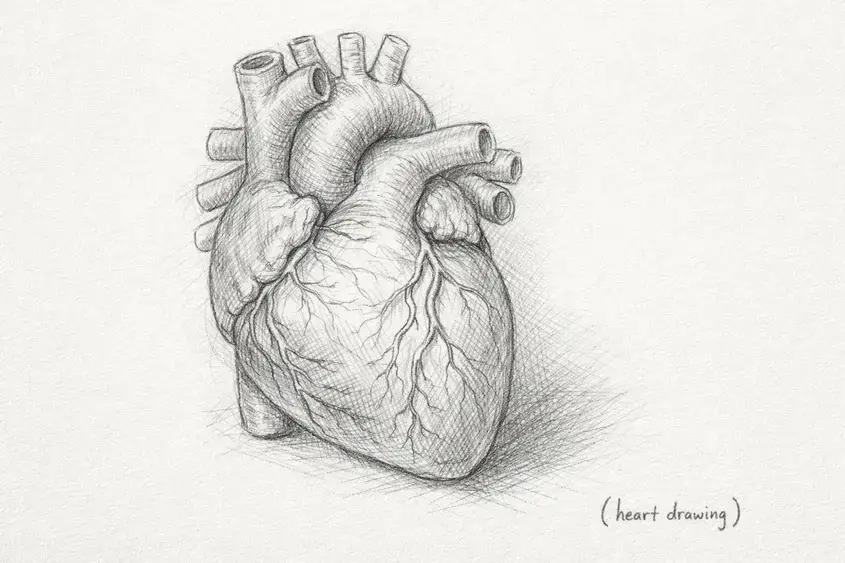
The symbolic heart shape is smooth and balanced. It uses two curves and one point. The anatomical heart is more organic and uneven. It has bumps, tubes, and natural asymmetry. Beginners sometimes feel intimidated when drawing realistic hearts. I felt the same when I first tried anatomical sketching. The organ looked complicated until I broke it into small visual parts. A real human heart contains chambers that pump blood. There are four main chambers inside the heart. The upper chambers are called atria. The lower chambers are called ventricles. These chambers create the internal structure of the organ. When drawing, imagine the heart as a soft, rounded muscular shape rather than a perfect geometric form.
Veins and arteries add realism to the drawing. Veins usually appear thinner and more numerous. Arteries often look slightly thicker and more prominent. Do not draw every vessel. Too many details make the sketch messy. Choose a few major vessel lines to show structure. Using reference images is very important. Medical illustration books and anatomy references help artists understand proportions. Look at how the heart connects to surrounding vessels. Focus on natural curves instead of sharp artificial edges. Real organs rarely have perfect symmetry.

Start realistic heart drawing with a light oval base shape. Add the main muscular bumps on the top. Sketch the major arteries extending upward. Keep lines soft and organic. Avoid straight geometric edges. Shading plays a major role in realism. Imagine light coming from one direction. Shade the opposite side slightly darker. This creates volume and depth. Use cross-hatching or soft pencil blending.
Realistic heart drawing feels more like studying nature than drawing a symbol. The goal is not perfection. The goal is natural biological form. Many medical artists practice anatomy sketching daily to improve observation skills. Anatomical heart drawing works well for science projects, advanced sketchbooks, and educational art. It teaches how life structures look under the skin. Even beginners can try this style if they move slowly and observe details carefully.
Creative Heart Drawing Ideas for Artists
Creative heart drawing lets imagination move beyond the classic shape. Artists enjoy turning a simple heart into something personal and unique. This style feels closer to storytelling than basic sketching. I like this part of drawing because it feels free and playful. There is no strict rule about how the heart should look. You only follow your imagination and mood.
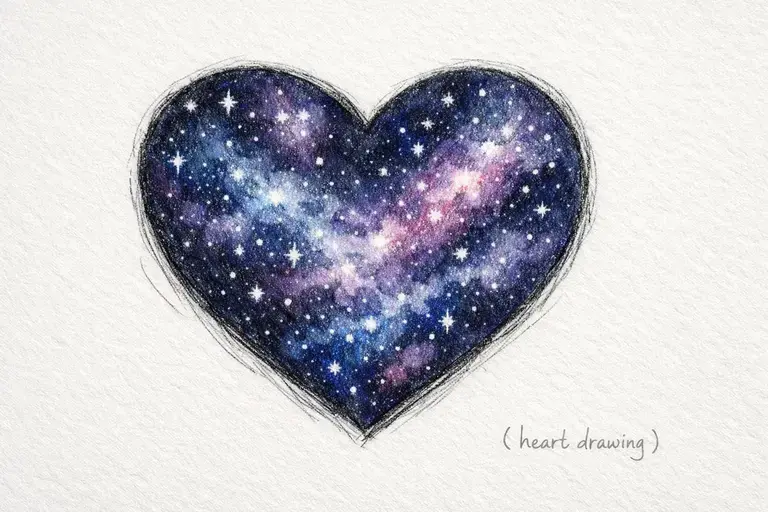
Galaxy heart
Draw a heart shape and fill it with stars, space dust, and soft nebula patterns inside. Use dark background shading and scatter tiny dots to represent distant stars. The galaxy heart symbolizes endless emotion, like love that feels as wide as the universe. Many digital artists enjoy this style because it looks magical.
Floral heart
Cover the heart outline with small flowers and leaves. Roses are common because they represent romantic beauty. You can place flowers around the edges or inside the heart. Floral hearts feel natural and peaceful. This design appears often in decorative illustration and gift art.
Abstract heart
Create a heart shape using unusual lines, shapes, or patterns. Abstract heart drawing does not follow strict anatomy rules. Some artists use broken lines, geometric shapes, or overlapping strokes. Abstract art from The Museum of Modern Art collections shows how emotion can exist without realistic form.

Mechanical heart
Draw heart shapes using gears, wires, and machine parts. This style represents the idea of love combined with technology. Mechanical heart art often appears in science fiction illustration. Add small bolts, metal plates, or circuit-like patterns.
Watercolor heart
Sketch the heart outline lightly. Then add watercolor-style color blending inside. Let red, pink, or purple tones flow softly together. Do not control the paint too strictly. Natural color movement creates beauty in watercolor art.
Graffiti heart
Use bold lines and urban art style. Add shadows, spray-like effects, or street art lettering near the heart. Graffiti hearts often express youthful energy and modern culture.
Creative heart drawing becomes exciting when you try new combinations. You can mix styles together. For example, a floral galaxy heart or an abstract watercolor heart. Artists grow when they experiment without fear. Sometimes the best drawing appears when you stop thinking too much and start sketching freely. A simple heart can become a universe of artistic ideas. Your sketchbook becomes a space where emotion, imagination, and personal style meet. The heart shape is small, but it carries huge creative potential. Every artist can transform this symbol into something different. All it takes is curiosity and a pencil.
Tools You Can Use for Heart Drawing
Heart drawing does not need expensive tools. Many beautiful sketches start with simple materials. Beginners should focus more on practice than equipment. I often tell new learners that art lives in their hand, not in the price of their tools. A basic pencil and paper can create amazing drawings if the hand moves with patience. Traditional drawing tools are the easiest way to begin.
A pencil is the best first choice for beginners. Pencil lines are easy to control. You can make soft or dark strokes by changing pressure. Mistakes do not feel scary because you can erase them. Many art teachers recommend starting with pencil sketching. Educational programs from The Royal Academy of Arts also emphasize foundational drawing practice before digital art. An eraser helps correct shape balance. When drawing a heart, small curve mistakes can happen. An eraser allows you to fix symmetry without restarting the drawing.
A sketchbook gives you personal practice space. Sketchbooks are not about perfection. They are about growth. Some artists keep old sketchbooks to remember their learning journey. Markers and colored pencils add personality after outlining. Markers create strong visual impact. Colored pencils allow soft shading and emotional tone. Many people choose red or pink colors for heart drawings because they symbolize love and warmth. Digital drawing tools are also popular today.
A tablet and stylus help artists create smooth digital illustrations. Digital art allows easy editing, layering, and color adjustment. Modern artists often use digital platforms for heart illustration work. Drawing applications provide extra creative possibilities. Some apps offer symmetry tools that help beginners create balanced heart shapes. Digital tools feel different from paper because the surface does not resist the pen.
Still, many artists believe pencil drawing teaches stronger fundamentals. The reason pencil is best for beginners is simple. It teaches control, patience, and observation. When you draw with pencil, you feel the movement of your hand. You learn how curves respond to pressure. This physical connection helps develop muscle memory. Professional artists from Stanford University School of Medicine art therapy programs also use pencil sketching for relaxation exercises. The simplicity of pencil drawing reduces performance pressure. If you are starting heart drawing today, begin with a pencil and paper. Do not worry about complex tools. Even famous artists once started with a single simple line. The heart shape itself is proof that beauty can come from minimal strokes.
Simple Shading Techniques for Heart Drawings
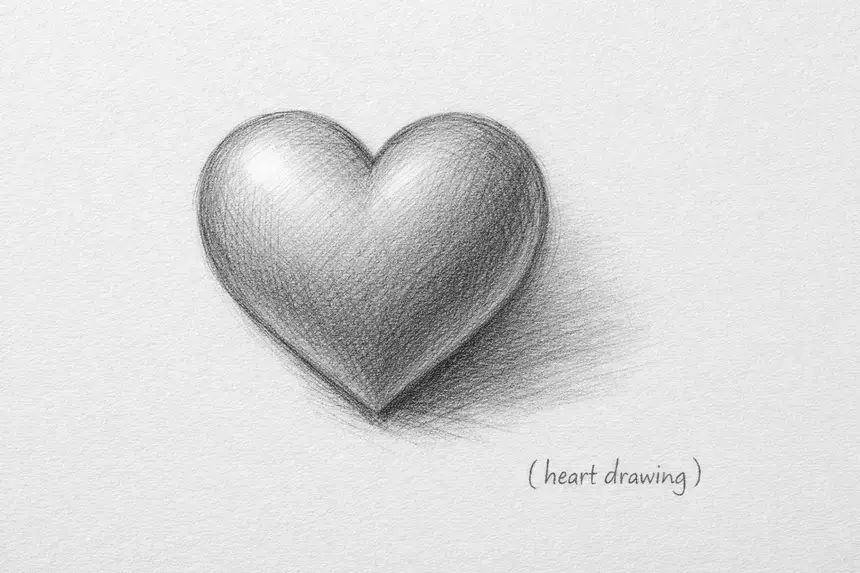
Shading gives life to a heart drawing. Without shading, the heart looks flat and simple. With shading, the heart feels three-dimensional and real. Many beginners think shading is complicated. In reality, shading starts with understanding light and shadow. I usually imagine holding a small light above the heart shape when I shade. The first method is light gradient shading. Start shading from one side of the heart. Press the pencil lightly at the edge. Move slowly toward the center while reducing pressure. The color should slowly become lighter. This creates a soft transition between dark and bright areas. Gradient shading gives the heart a smooth, gentle feeling. Many sketch artists prefer this style because it looks natural.
The second method is cross-hatching. This technique uses intersecting lines to create shadow. Draw small diagonal lines close to each other on the shadow side of the heart. Then add another set of lines crossing the first set. Do not make the lines too thick or crowded. Cross-hatching gives texture and depth. This method appears in classical sketch art and scientific illustration. Historical drawing guides from Smithsonian Institution art archives show cross-hatching as a long-used shading style.
The third method is soft pencil blending. Use a tissue, cotton, or blending tool to gently smooth pencil strokes. Lightly rub the shaded area until the texture looks soft. Blending creates a calm and realistic surface. Many beginners enjoy this method because it feels forgiving. The most important rule in shading is imagining light direction. Decide where the light comes from before shading. If light comes from the top, shade the bottom and side areas more. The opposite side should remain lighter. This idea helps create natural volume. Heart pencil drawing becomes more attractive when shading follows natural light behavior. Do not shade randomly. Always keep one consistent light source in mind.
Start with light pressure. Add darkness slowly. You can always add more shadow, but removing heavy pencil marks is difficult. Shading also adds emotional tone to heart art. Soft shading feels romantic and calm. Strong contrast shading feels dramatic and bold. Choose the style that matches your drawing mood. Practice shading by drawing small hearts and experimenting with light angles. Even a small shaded heart can look artistic when shadow and light work together. Over time, your hand will learn how to create depth naturally.
Common Mistakes Beginners Make
Many beginners feel frustrated when their heart drawing does not look perfect. This is normal. Every artist faces early drawing mistakes. I remember looking at my first heart sketch and thinking the curves looked strange. The important thing is learning what went wrong and trying again. Drawing skills grow through small corrections, not sudden perfection.
Uneven curves
This happens when both sides of the heart do not match. One curve may look bigger or wider than the other. The heart then appears tilted. The quick fix is using a light center guideline before drawing. Draw slowly and compare both sides while sketching. Symmetry matters more than speed.
Flat top shapes
Some beginners make the top of the heart too straight. The heart then looks stiff and unnatural. The top should always contain two soft rounded bumps. Imagine drawing two small hills sitting beside each other. Keep the curves relaxed and gentle.
Crooked symmetry
When the center line is ignored, the heart can lean left or right. This mistake is very common. Draw a vertical guideline first. Check both sides while sketching the outline. Small adjustments can fix most balance problems.
Sharp unrealistic edges
A heart should feel soft and organic. Too many sharp angles make the drawing look mechanical. Smooth the curves at transition points. Let lines flow naturally from top to bottom.
Over-shading
Some beginners press the pencil too hard while shading. The heart then looks dark and heavy. Start with light shading layers. Add darkness slowly. It is easier to add shadow than remove it.
Professional art education resources from The British Museum art learning programs also emphasize observation and patience when studying basic shapes. A simple rule helps beginners avoid most mistakes. Draw lightly first, check symmetry, then finalize the outline. Do not rush the sketching stage. Remember that imperfect hearts still carry meaning. Many handmade art pieces are loved because they look human and natural. Small irregularities can even add character to your drawing. Every artist begins with mistakes. The difference between beginners and experienced artists is practice. Each corrected line teaches your hand something new. Heart drawing becomes easier when you accept learning as part of the process.
A Simple 7-Day Heart Drawing Practice Plan
Learning heart drawing becomes more enjoyable when practice follows a small daily routine. You do not need to spend hours each day. Even fifteen to twenty minutes of focused drawing helps your hand remember the shape. I like this kind of gentle learning because it feels less stressful and more natural. Art grows slowly, like learning a new language.
Day 1 – Basic hearts
Start with simple heart outlines. Draw at least ten small hearts. Focus on symmetry and smooth curves. Do not worry about perfection. This day helps your hand understand the heart shape.
Day 2 – Outline practice
Practice drawing clean heart outlines using light pencil pressure. Try different heart sizes. Draw both small and medium hearts. Pay attention to curve balance. This exercise builds line control.
Day 3 – Cute hearts
Add personality to your hearts. Try smiling hearts, small eyes, or blush marks. Make three to five cute heart characters. This day helps you explore emotional art style.
Day 4 – Romantic hearts
Draw heart with arrow, ribbon, or wings. These designs feel more decorative and symbolic. Think about love storytelling through simple elements. Keep lines soft and flowing.
Day 5 – Broken hearts
Practice cracked or stitched heart drawings. Add simple crack lines or small stitch marks. This exercise teaches emotional expression in art.
Day 6 – Shading practice
Choose one heart drawing and add shading. Imagine light coming from one direction. Use gradient shading or cross-hatching. Start with very light pencil pressure.
Day 7 – Creative heart design
Create your own heart drawing style. Try galaxy heart, floral heart, or abstract pattern heart. This day is about imagination and confidence.
Art education research from Yale University shows that consistent short practice sessions improve skill retention better than long irregular practice. During this week, do not judge your drawings harshly. Some hearts may look better than others. That is normal. Progress appears through repetition. Your hand gradually learns curve movement and pressure control. If you miss one day, simply continue the next day. Drawing is not a test. It is a conversation between your mind and your hand. After seven days, you will notice something interesting.
Heart shapes will start feeling easier. Your lines will become smoother. You may even draw hearts without thinking too much. That feeling is the beginning of real artistic comfort. Keep one sketchbook page for this practice plan. Watching your improvement across seven days can be emotionally satisfying. Many beginners feel proud when they see their first and last drawings together.
Heart Drawing Ideas for Kids
Heart drawing is one of the easiest and most enjoyable art activities for children. Kids naturally like simple shapes, bright colors, and friendly characters. The heart shape feels safe and familiar to young learners. Many childhood art programs use basic symbols like hearts to build drawing confidence. Early art education programs from UNICEF highlight how creative play supports emotional and cognitive development in children.
Heart coloring pages
Give children simple heart outlines to color. Let them choose red, pink, yellow, or any color they like. Kids enjoy freedom in coloring. Some children mix many colors inside one heart. That creativity should be encouraged. Coloring hearts helps improve hand control and color recognition skills.
Heart sticker designs
Ask kids to draw small hearts on paper and cut them carefully with supervision. These hearts can become stickers using tape or adhesive paper. Children love turning drawings into physical decorations. They can place heart stickers on notebooks, water bottles, or classroom boards.
Heart doodle games
Turn drawing into play. Ask children to fill a page with tiny hearts. Some hearts can have eyes, smiles, or simple patterns. Others can stay empty. You can play games like “draw ten hearts in one minute.” This activity builds speed and confidence without pressure.
Classroom art project
Heart drawing works well in school art projects. Teachers can assign a “love and kindness” theme where children draw hearts with messages inside. Kids may write simple words like friendship, family, or happiness. This kind of project helps emotional development.
Child art specialists at American Academy of Pediatrics recommend creative drawing activities because they support emotional expression and fine motor skill growth. When teaching kids heart drawing, keep instructions very simple. Say things like, “Draw two round hills on top, then connect them to a point.” Avoid complex explanations. Children enjoy drawing hearts because the shape feels friendly.
Some kids add arms, legs, or funny faces to their hearts. That imagination should never be restricted. Even a slightly imperfect heart drawing looks beautiful when a child makes it. Parents and teachers should praise effort rather than perfection. A child who enjoys drawing will naturally practice more. Heart drawing can become a small daily happiness activity for young learners. Let children experiment freely. Art for kids is not about technical accuracy. It is about joy, expression, and creative confidence.
Heart Drawing Inspiration for Your Sketchbook
Your sketchbook is a personal space where ideas grow quietly. Heart drawing becomes more interesting when you stop thinking about perfection and start exploring imagination. I often open my sketchbook and draw small hearts without planning. Those small sketches sometimes turn into bigger ideas later. Creativity usually begins when the hand moves before the mind overthinks.
Create a heart pattern page
Fill one page with repeating heart shapes. Arrange them like fabric patterns or wallpaper designs. Some hearts can be tilted. Some can be small and some slightly larger. Pattern drawing feels relaxing because it removes pressure to create something perfect.
Draw 100 tiny hearts
Challenge yourself to draw many small hearts on one page. They do not need to look identical. Some can be rounder. Some can be slightly crooked. The purpose is practicing movement, not judging each shape. Many professional artists use repetition exercises to train muscle memory.
Design heart logos
Try turning heart shapes into simple logos. Combine hearts with letters, circles, or minimalist lines. Logo-style drawing teaches visual communication. Businesses and social platforms often use heart symbols because they are emotionally recognizable. Studies from Massachusetts Institute of Technology research on visual cognition show that simple symbols are processed faster by the human brain.
Experiment with abstract hearts
Let your imagination change the heart shape. Draw hearts using broken lines, geometric shapes, or flowing curves. Abstract heart drawing allows emotional expression without strict structure. Some artists create heart art sketch styles where the symbol almost disappears into patterns.
Your sketchbook does not need to be a gallery. It is a space for exploration. Some pages may look messy. Others may look beautiful. Both are valuable. I sometimes think of the sketchbook as a conversation between today’s skill and tomorrow’s creativity. Every heart you draw becomes a small record of your artistic journey.
Do not worry if your hearts look different each time. Variation shows learning and personal style development. Many famous illustrators started with simple repeated shapes. When you return to old pages later, you may feel surprised. Small hearts you once considered ordinary may look meaningful after your skills improve. That feeling is one of the quiet joys of drawing. Keep experimenting. Let your heart drawings grow naturally inside your sketchbook.
Frequently Asked Questions (FAQ)
How do you draw a perfect heart?
A perfect heart comes from balance and symmetry. Start by drawing a vertical center line. Add two small guide curves at the top. Connect both sides smoothly toward one bottom point. Draw lightly first, then refine the outline. Perfect hearts are not about sharp edges. They are about smooth, natural flow.
What is the easiest way to draw a heart?
The easiest method uses simple guide shapes. Draw two small circles near the top of a center line. These circles form the round upper curves. Connect the circles with smooth lines that move downward into one point. Many beginners like this circle guideline method because it feels natural and simple.
Why do artists draw hearts?
Artists draw hearts because the symbol represents human emotion. The heart shape communicates love, care, friendship, and connection without words. Visual symbols help people share feelings quickly. Art history shows heart symbols appearing in decorative illustration and romantic design across cultures.
Can kids learn heart drawing easily?
Yes, children learn heart drawing quickly because the shape is simple. Kids naturally enjoy repeating small shapes. Drawing two curved hills and one point is easy to understand. Heart drawing also helps children practice hand movement and basic symmetry control.
What tools are best for heart drawing?
A pencil and sketchbook are the best tools for beginners. A pencil allows light sketching and easy correction. A sketchbook provides space for repeated practice. Colored pencils or markers can be used later for decoration.
Educational art programs from National Endowment for the Arts also emphasize simple drawing exercises for early skill development. Starting with basic tools helps learners focus on shape understanding rather than equipment. Heart drawing is one of the most approachable art skills. Anyone can start with a single curve. Over time, that simple curve can grow into many creative designs. The heart symbol remains one of the most universal forms of visual expression in human art.
Final Thoughts: Why Heart Drawing Is a Great Starting Point for Artists
Heart drawing is more than a simple art exercise. It is often the first step into the world of creativity. Many artists remember their early days of sketching small hearts on notebook pages. The shape feels friendly and easy to approach. Starting with heart drawing helps beginners feel comfortable with art. Drawing hearts builds confidence. When you complete a heart sketch, you feel a small sense of achievement. That feeling matters more than perfection. Confidence grows when your hand learns that drawing is not difficult. Even a slightly uneven heart still carries meaning and beauty.
Heart drawing also improves curve control. The shape teaches how to move the pencil smoothly. Curves are important in many art styles, including character design, illustration, and decorative sketching. Practicing hearts trains your muscles to follow gentle flowing lines. Over time, your drawing hand becomes more relaxed and natural. Creative expression also grows through heart drawing. One simple heart can become many artistic ideas. You can add wings, flowers, patterns, or emotional details. Some artists use heart shapes to tell stories without writing words. Art education research from Columbia University suggests that visual creativity supports emotional communication and cognitive development.
Heart drawing is special because it connects art with human feeling. The heart symbol represents love, kindness, and connection across cultures. People understand it instantly, even without explanation. I believe heart drawing is a beautiful starting point for anyone who wants to learn art. It does not require expensive tools or advanced knowledge. It only requires curiosity and patience. Every artist starts with simple shapes — and sometimes a small heart sketch can begin a lifelong love for drawing. When you draw a heart, you are not only practicing art. You are learning how emotion can live inside a simple line. Keep drawing, keep exploring, and let your creativity grow naturally.